


 English


Making the cutest Santa pillar!
CANDLES
Look at this cutest Santa!Making a Santa pillar candle
Merry Christmas
Santa's in my room
Christmas sentiment, Christmas atmosphere is not far away.
Small happiness is always near us.
Let's make this small and cute happiness together.
01
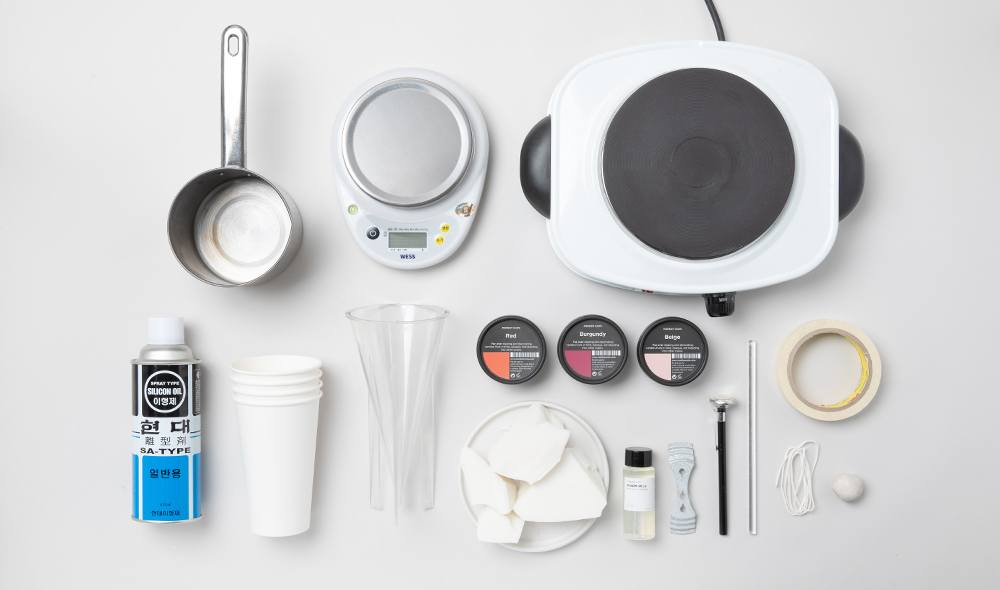
Preparing Tools
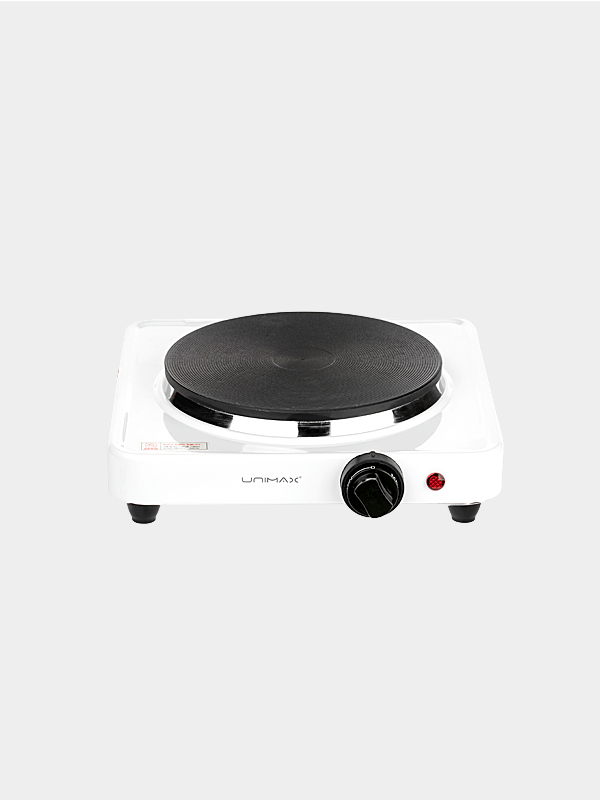
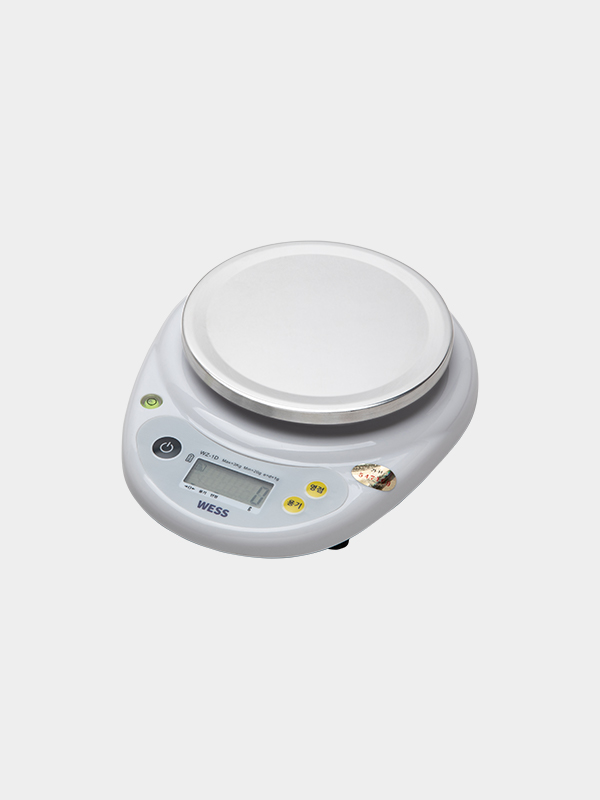
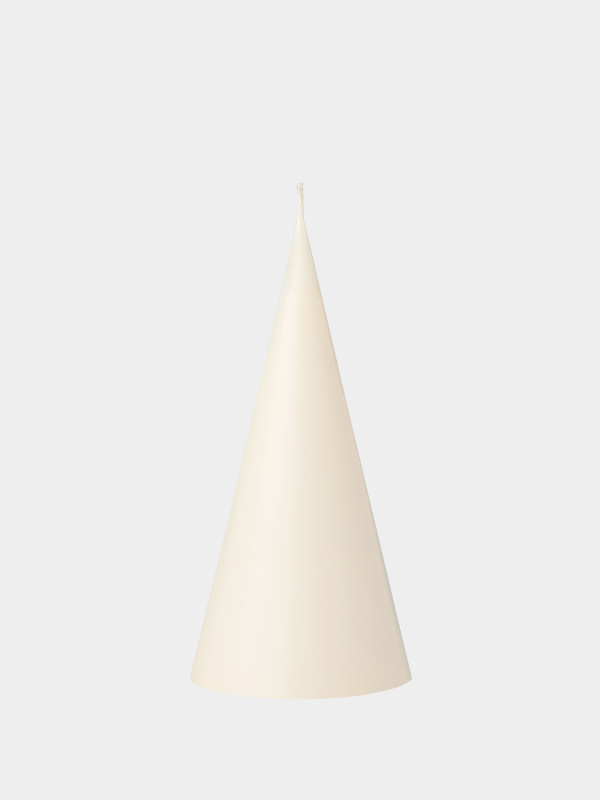
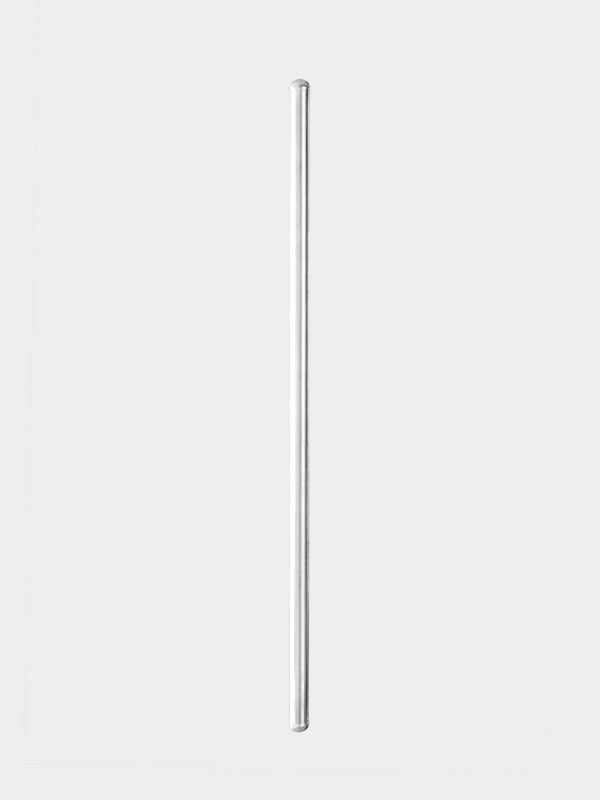
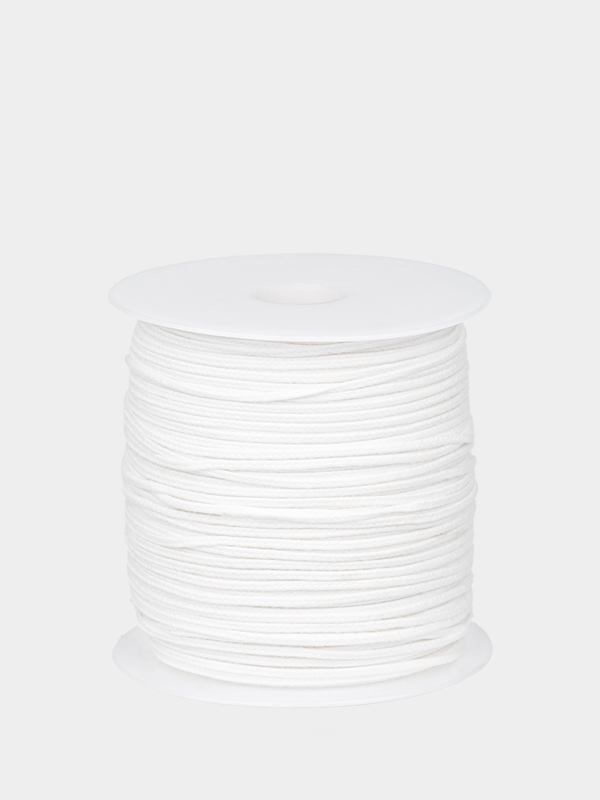
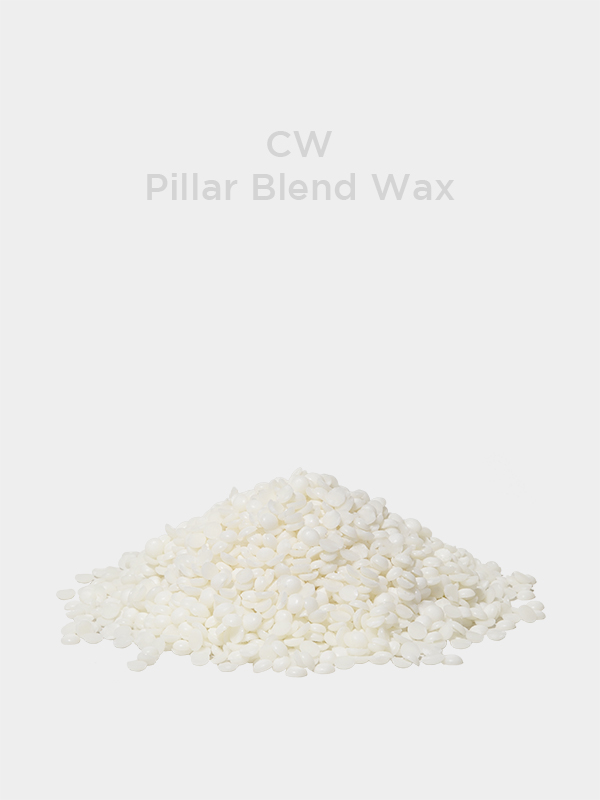
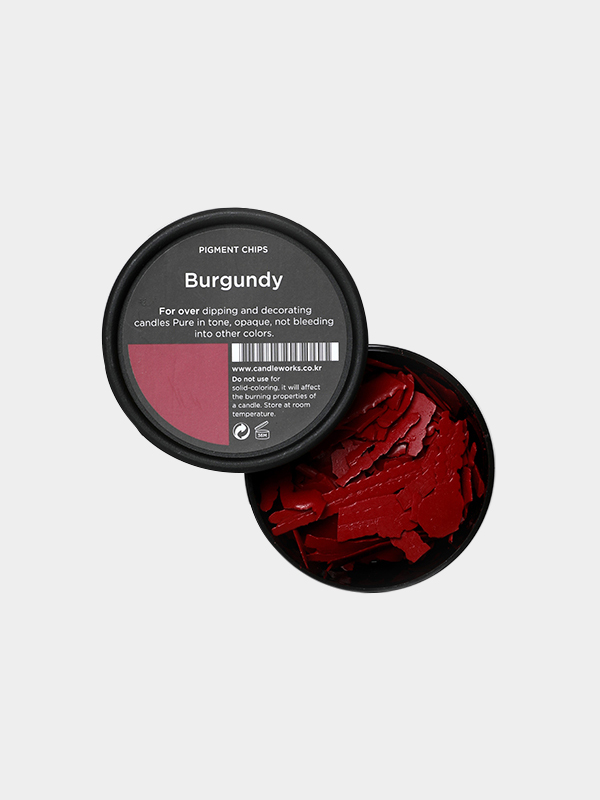
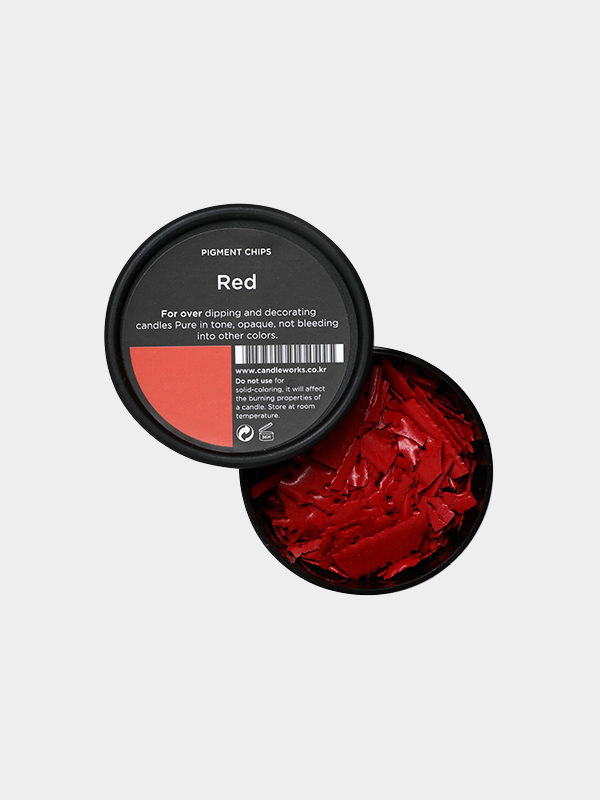
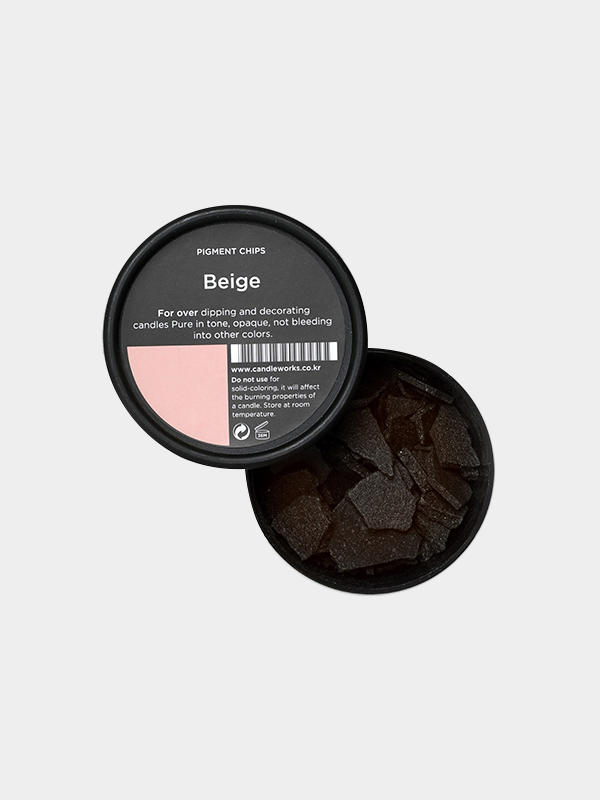
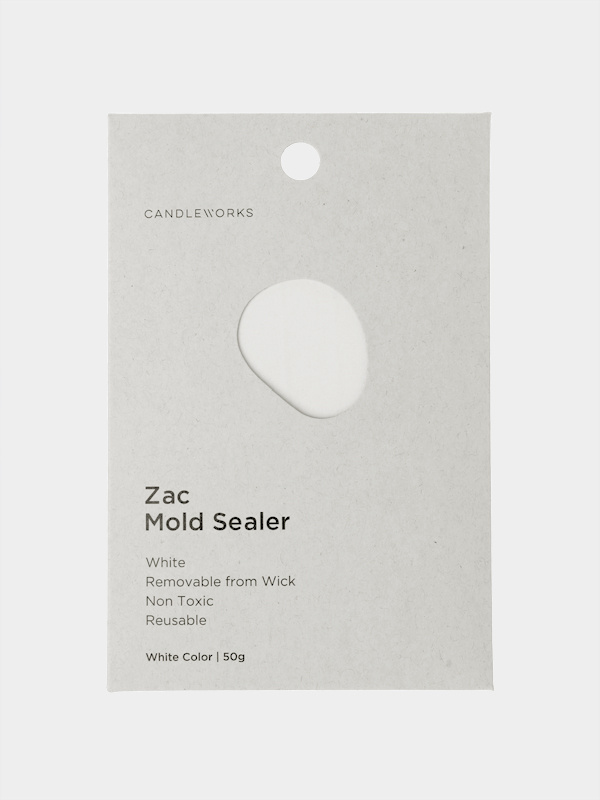
Prepare | CW Pillar Blend Wax 380g (wax 350g / fragrance oil 30g), Pigment Chips (red, burgundy, beige), PC Large Cone Mold, White Cotton Wick No.2 (Roll), Fragrance Oil (Warm Milk (ESPRIT DE NOEL)), Electronic Scale, Glass Rod, Electronic Hot plate, Temperature, ZAC Mold Sealer, Mold Release Spray, three paper cups, paper tape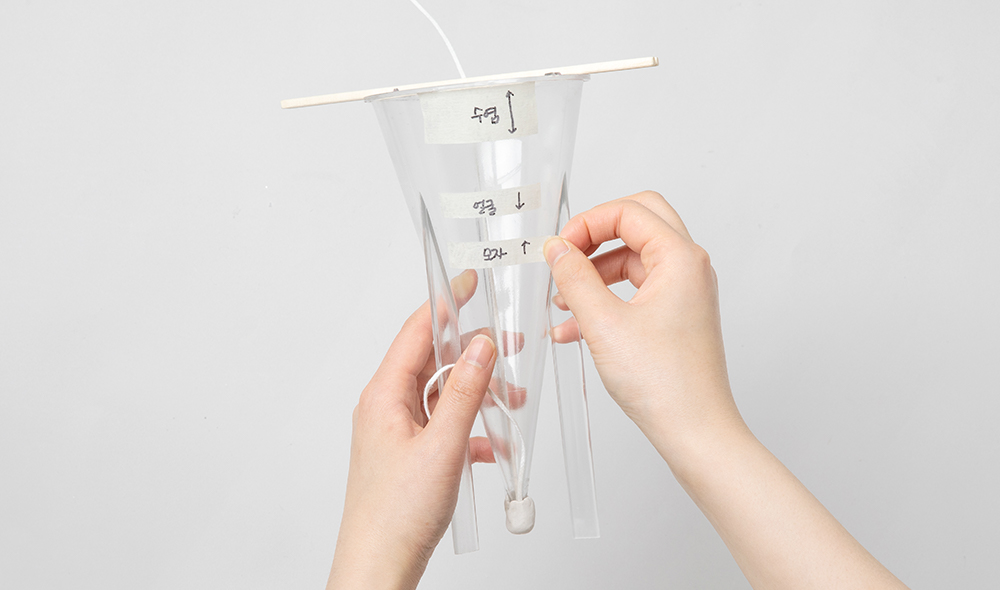
02
Setting the ratio
Please tape the ratio of Santa's beard, face, hat to the candle mold's surface that you want to make.
** If the height of the candle you want is different from the example, you can mark the different heights of the wax in advance using paper tape or masking tape and pour wax at the wanted height and ratio. Then you can make it more efficiently.
03
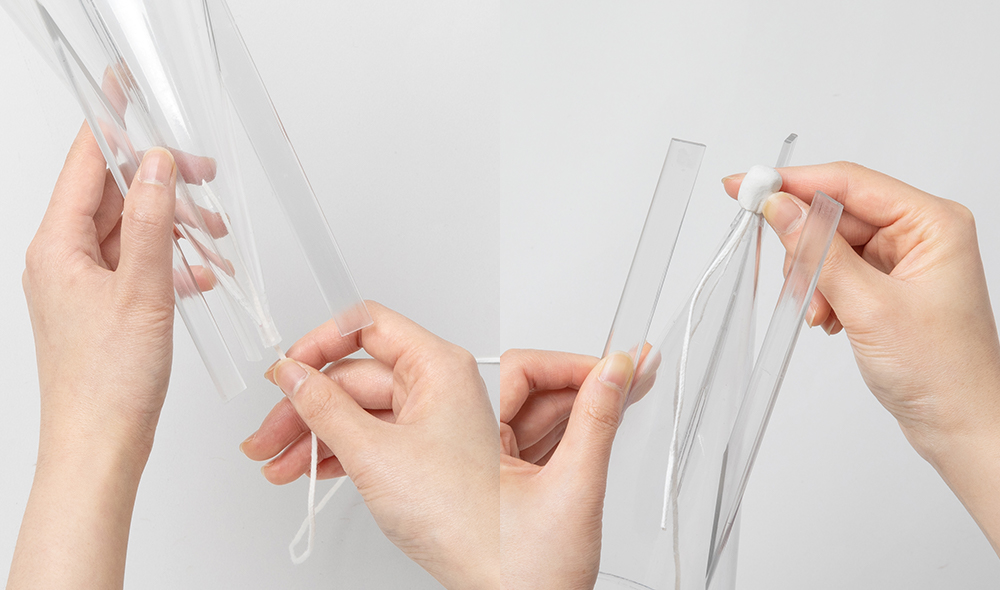
Putting wick into the candle mold and blocking the hole
Putting the wick into the narrow hole in the mold. Use the ZAC Mold Sealer to cover the wick's top near the narrow hole.
** The reason for blocking the wick hole with a ZAC Mold Sealer is to prevent hot wax from flowing into the wick hole. Please press hard and harden slightly with the mold sealer, and then pour wax.
04
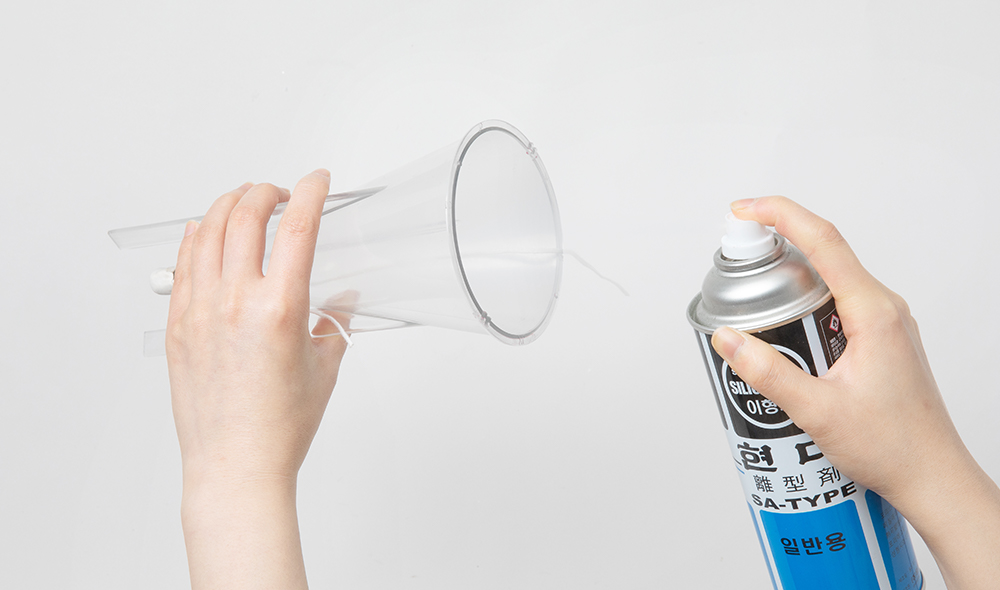
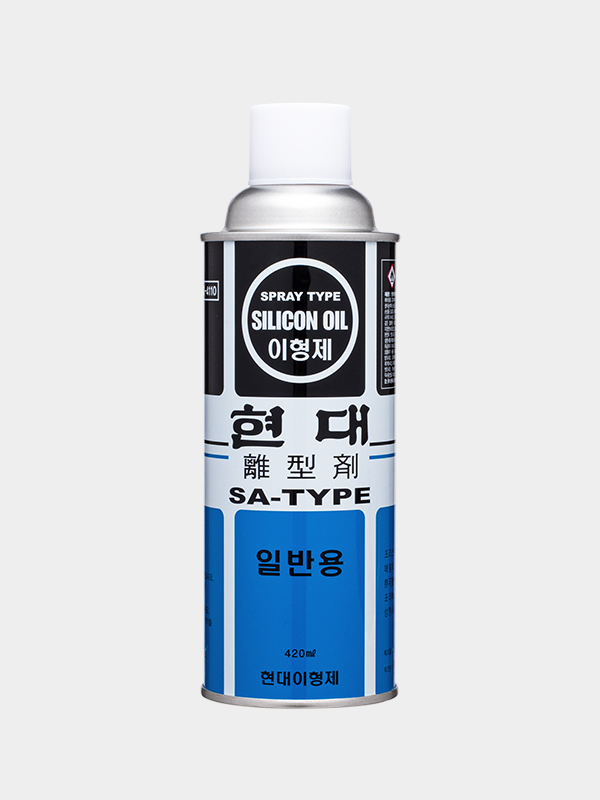
Spraying Mold Release
Fix the wick and spray mold release evenly inside the mold.
** Mold release spray acts as a thin layer of oil to help the candle come out easily in the frame. If you have frequently used molds, the wax will come out easily without spraying them, but if you are using a new mold, we recommend you to spray the mold release to them before using.
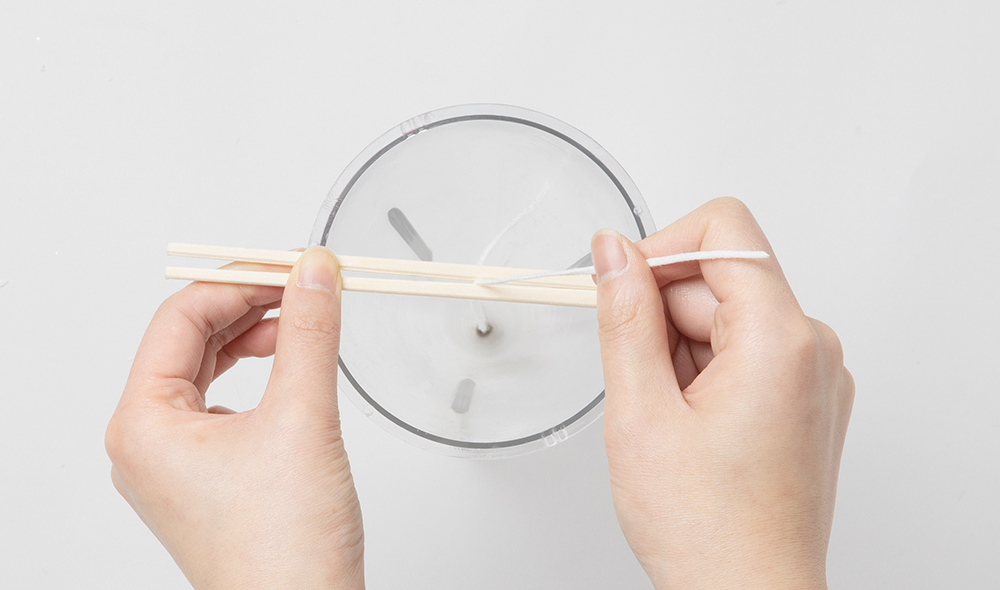
05
Fixing the wick
After pouring the wax, lift the wick straightly and put it between the unbroken wooden chopsticks, and fix the wick in the center of the mold.
**If there is no wick clip or the mold's opening is wider than the wick clip, you can secure it by using wooden chopsticks.
06
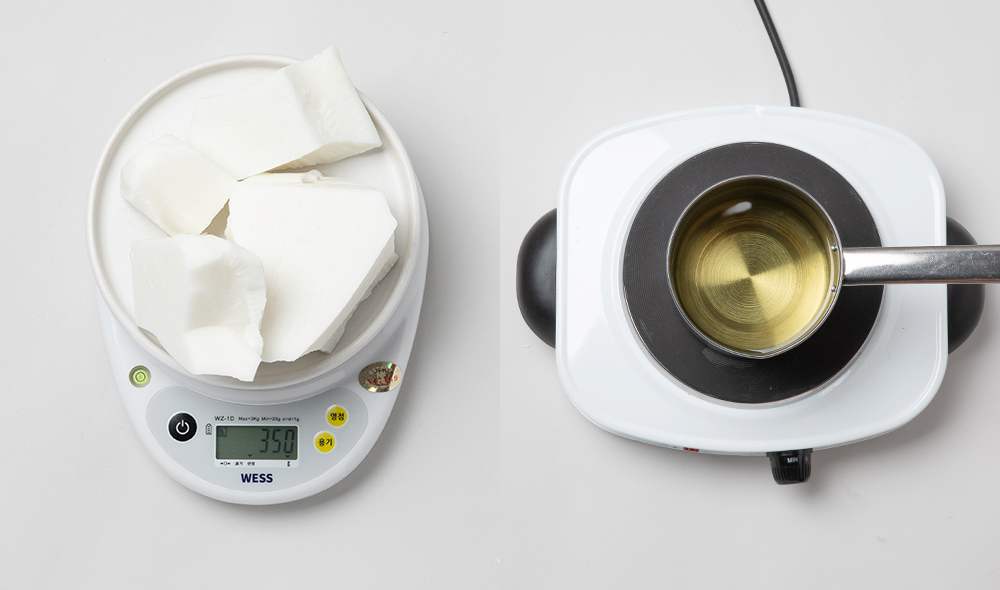
Melting the wax
You need 380g of wax based on PC Large Corn Mold to make one Santa candle. Dissolve 350g of CW Pillar Blend Wax.(Please prepare 380g of wax if you won't put the scent and If you want to make the candle with scent, please put 350g of wax)
07
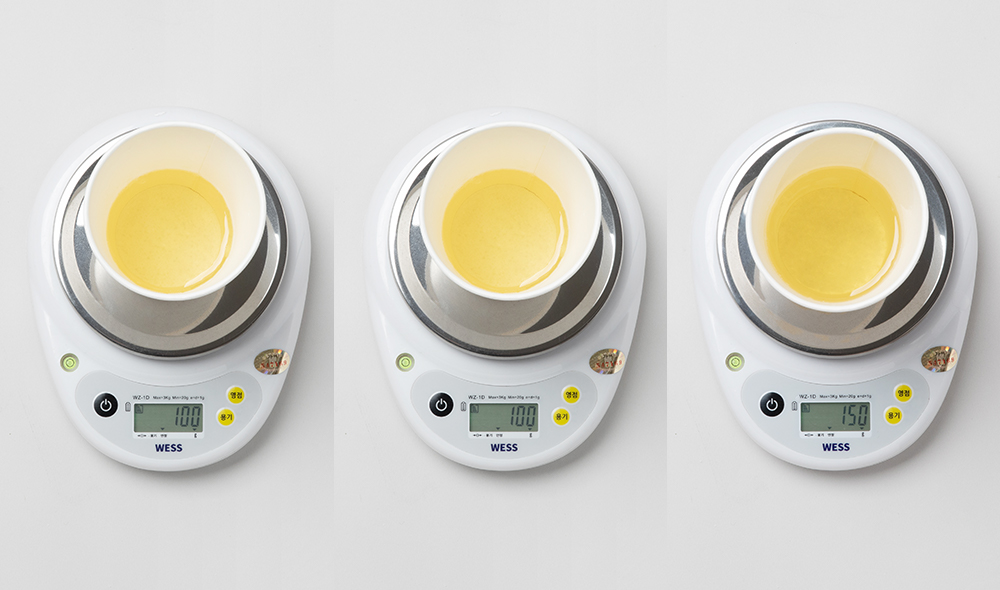
Dividing the wax
Separating melted wax into two 100g and one 150g in three paper cups.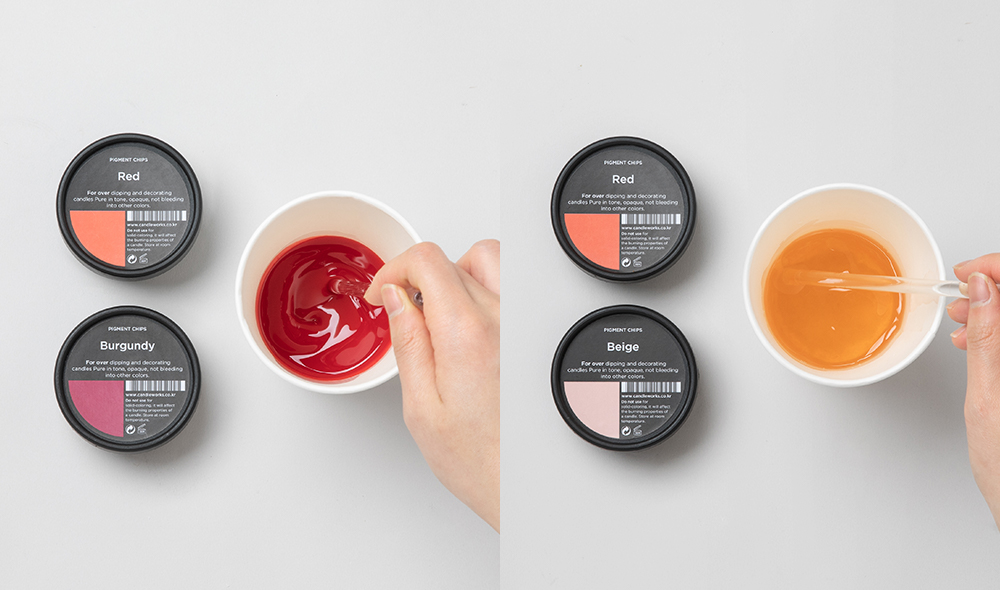
08
Making the color
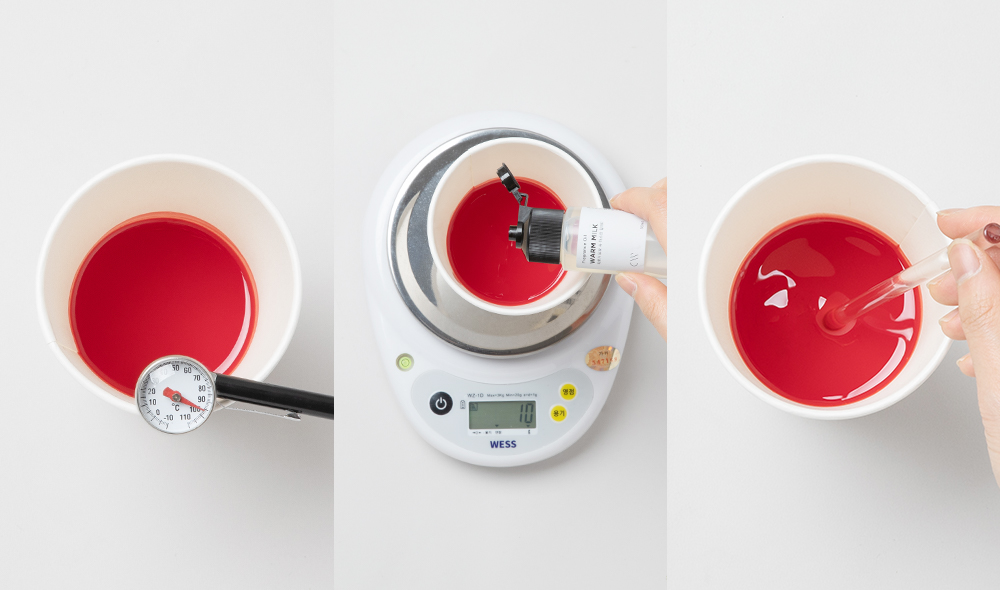
Pigment chips melt quickly and better-express color at high temperatures. Add a little of chips to check the concentration. If it hasn't mixed well because of the low temperature, put them into the Stainless Beaker, melt them on the Electronic Hot Plate and it will melt more quickly.
As you can see in the picture, the color of the wax we made is more apparent. We have melted the Pigment chips at high temperatures to dissolve well.
We put it in the paper cups so that you can see the color changes well, and it's easy to pour into the mold.
(Key colors: we used red+burgundy for Santa's hats and beige+small amount of red pigment chips for Santa's face)
** Pigment chips are good color materials for candle works and dipping operations where layers are separated by color because they have less spread colors over than other dyes.
09
Mixing Fragrance
Candles generally mix about 10% of their total capacity with fragrance.
Divide into two 10g and one 15g of fragrance oil by 10% proportion of the wax.
When the wax temperature is 90 to 95°C, add the fragrance and stir well for 1 minute.
(If the total of the wax is 350g, please adding 35g fragrance oil, which amount is 10% of the total wax)
** We recommend that the pigment chips are melted at high temperatures and then mixed with scents at low temperatures. It is okay to put the fragrance oil first and then color it, but it is not recommended because it may lose its scent if it remains at high temperatures for a long time.
10
Pouring the wax
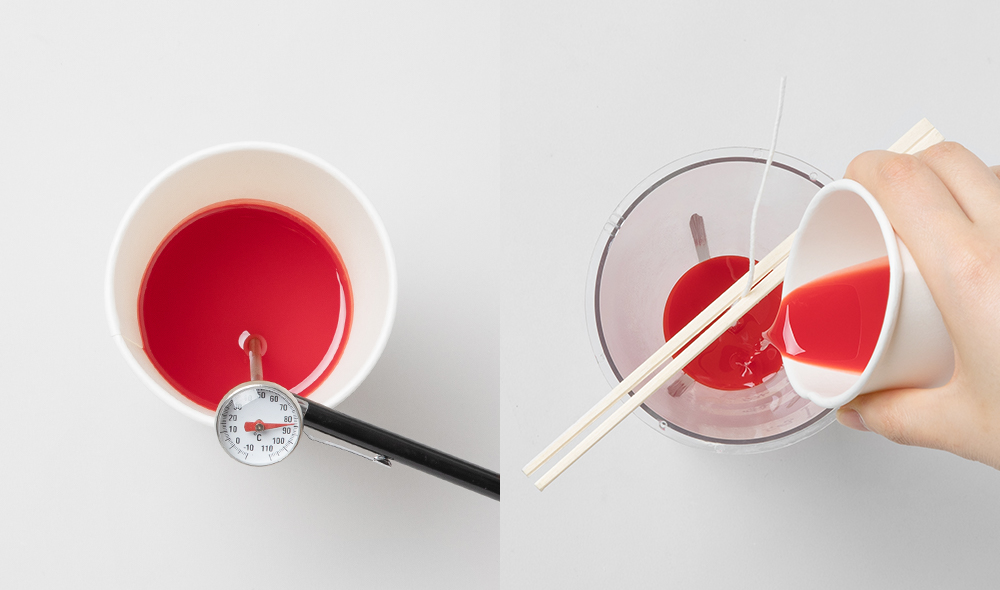
The standard temperature varies depending on the type of wax. If it is based on soy wax (for votive/pillar), please pour it at 80 to 85°C. Make the paper cup entrance pointy and pour as slowly as possible between the fixed wick and the mold to prevent wax from getting on the mold.
** In the winter, air bubbles may form on the candles' surface. We recommend you preheat the mold using a heater or hit tool first and then pouring the wax slowly.
11
Repeating
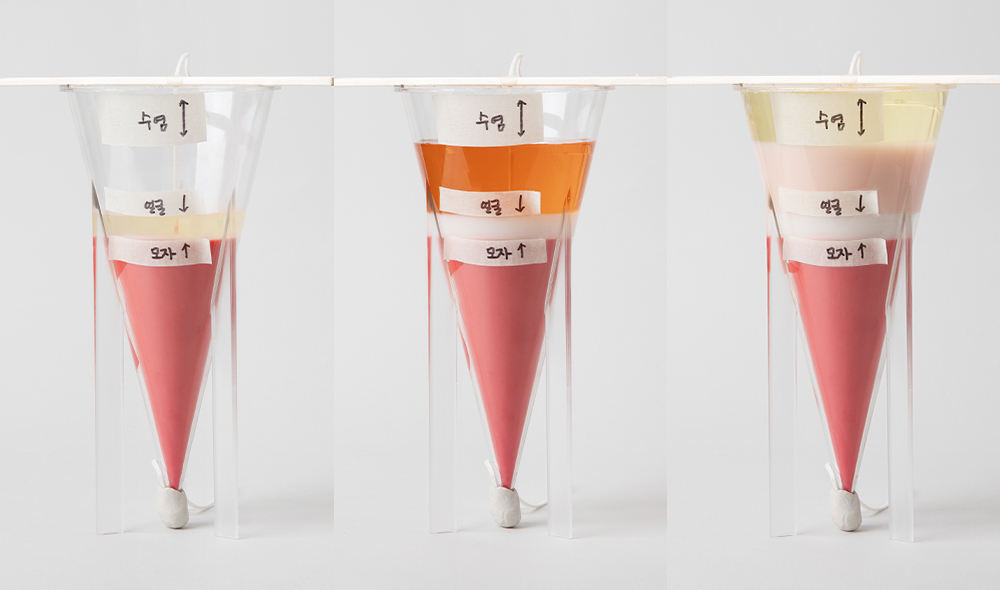
When the wax temperature reaches 90 to 95°C, add the scent by color. When the previously poured wax has cooled to about 70 to 75°C, repeat pouring the next wax.
From the bottom of the mold, adjust the height to the desired height in the order of red (hat)- white (hat border) – red + ivory (face) - white (beard).
Please remember that the wax on the mold must be hardened when repeated.
However, it should not be too contracted to create a gap between the mold and the candle. We recommend pouring wax when the wax surface' temperature is between 30 and 40 degrees.
** The temperature at which wax is poured may vary slightly depending on the working environment.
12
Removing Candles
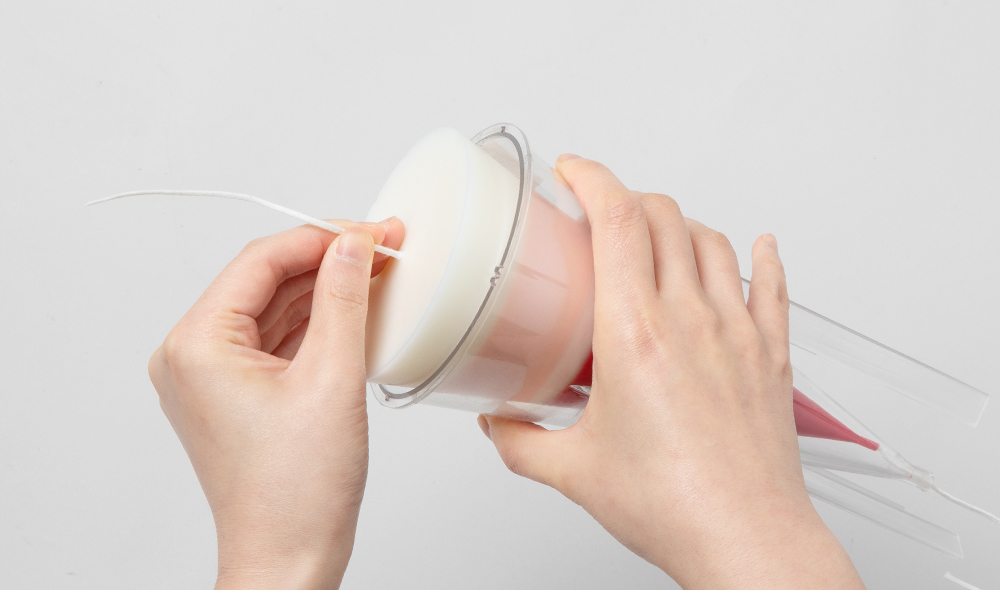
Remove the wax from the candle mold when you couldn't feel warm outside of the candle mold and remove the mold sealer too.
** In winter, the candles are very easily separate from the mold. If they are hardened but not come out well because of the summer weather or the different work environments, you can easily remove them by leaving them in the refrigerator for about 1 to 5 minutes.
(If left in the fridge for too long, the candles may crack.)

13
Decorating Santa's face
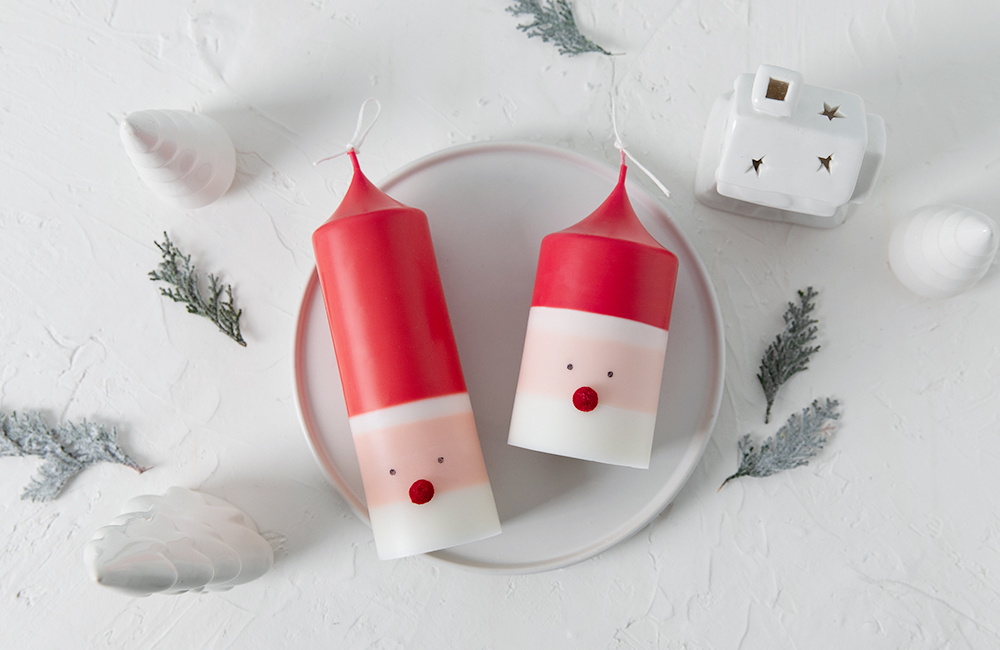
Using preserved flowers, acrylic pens, and alcohol ink., you can decorate Santa Claus's natural eyes, nose, and mouth. You can also make Santa's bobble hat with Chocolate Ball Base Mold, and you can make a big nose Santa with Raspberry Silicone Mold. The cutest thing is you can draw a shay blusher with the Alcohol ink.(Design your own Santa with a variety of materials!)

14
Arranging the wick
Cut the wick left at the bottom of the candle and tie the ribbon knot at the hat's top.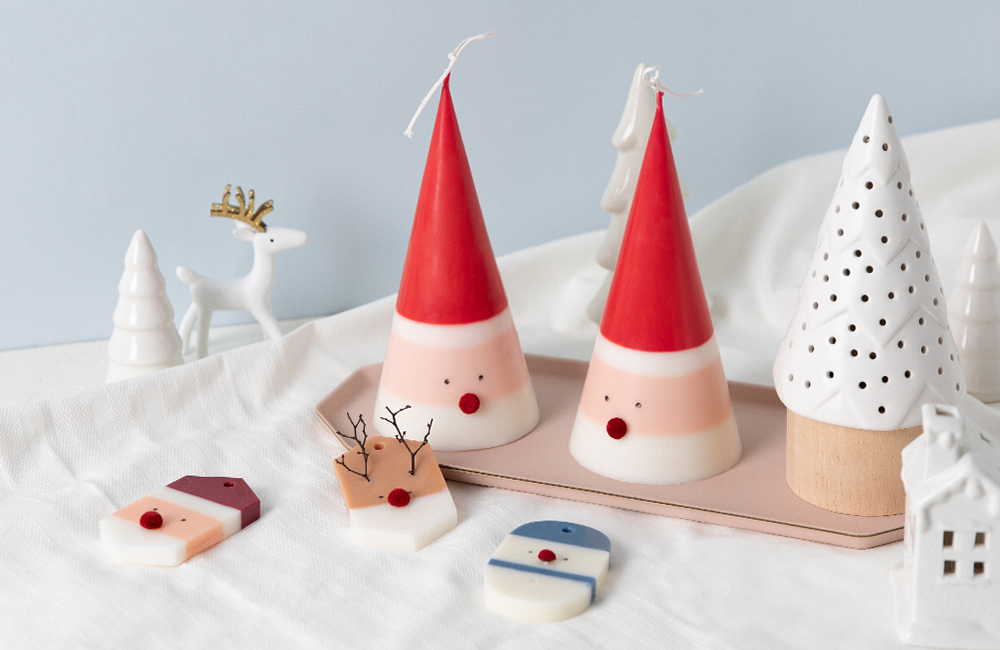
DIY ITEMS
Making a Santa pillarThis content is copyrighted by Chromaworks Inc. and may not be used commercially without permission.
DIY Items
Making the cutest Santa pillar
-
16.08 (USD)
Warm Milk (ESPRIT DE NOEL)
100ml × 1 EA
-
7.27 (USD)
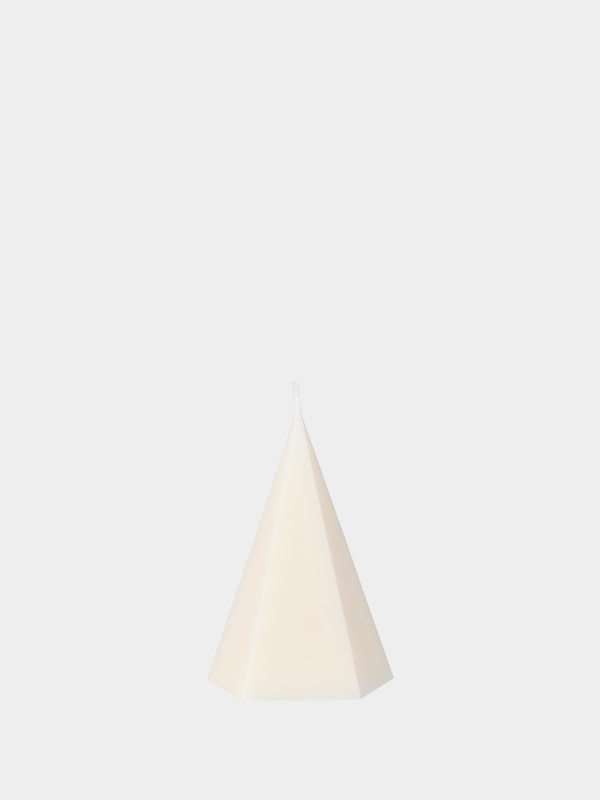
PC Large Cone Mold
1pc × 1 EA
-
1.92 (USD)
White Cotton Wick No.2 (Roll)
5m × 1 EA
-
6.00 (USD)
Beige Pigment Chips
20g × 1 EA
-
6.00 (USD)
Red Pigment Chips
20g × 1 EA
-
6.00 (USD)
Burgundy Pigment Chips
20g × 1 EA
-
10.69 (USD)
CW Pillar Blend Wax
1kg × 1 EA
Related Products
Related products
- 50%
- 30%

- 50%