


 English


Making Taper Candles & Taper Candle Holders
Candle
Making Taper Candles & Taper Candle HoldersMaking Taper Candles & Taper Candle Holders
This guide introduces the process of making taper candles using oil-soluble liquid dyes and wax,
as well as crafting taper holders with pigment powder and ornamental plaster.
It also provides insights into how to harmoniously combine
the characteristics of each material to create aesthetically balanced, colorful products.
Pair the vividly colored taper candles and holders to add a refined, fragrant touch to your space,
turning them into striking interior design elements.
 01
01
How to Make Taper Candles
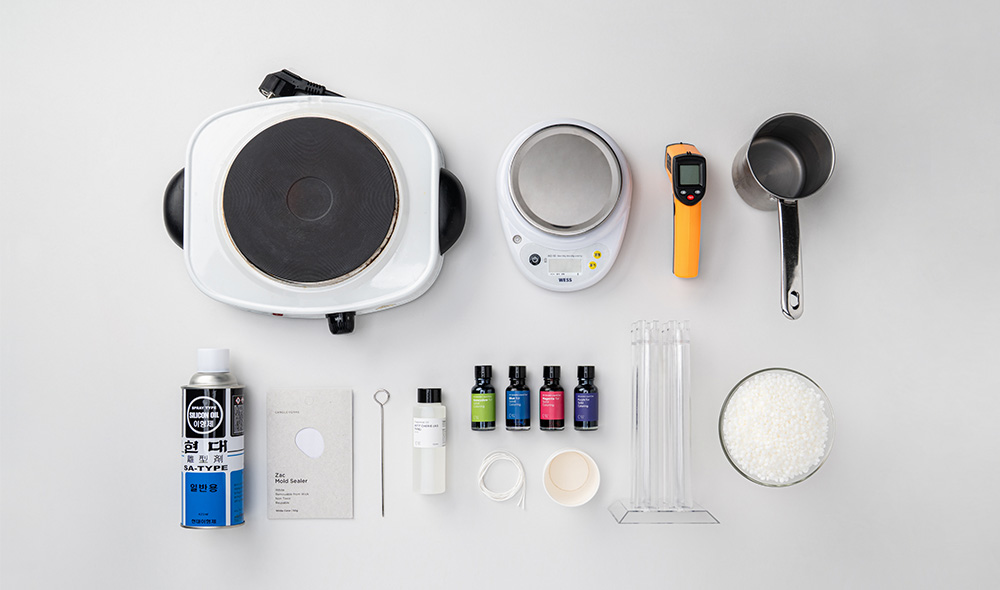
01-1. Preparing the MaterialsMaterials for Making Taper Candlesㅣ
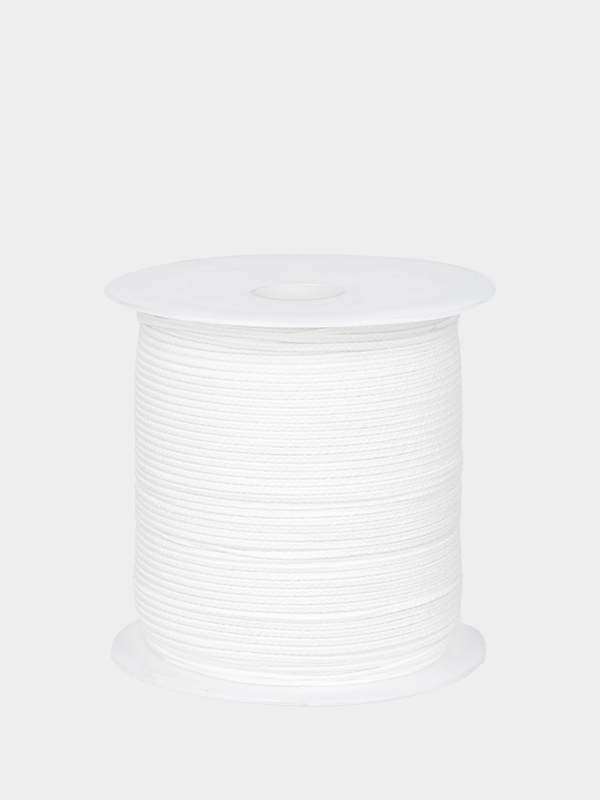
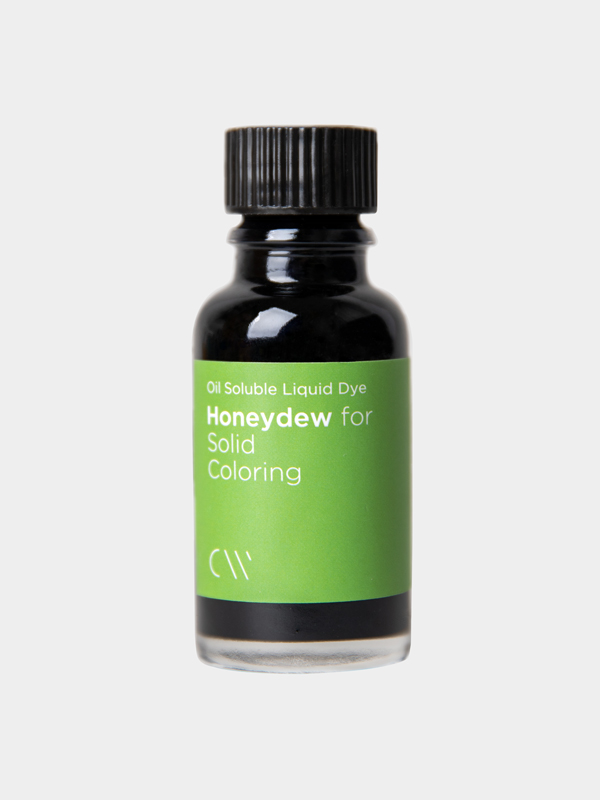
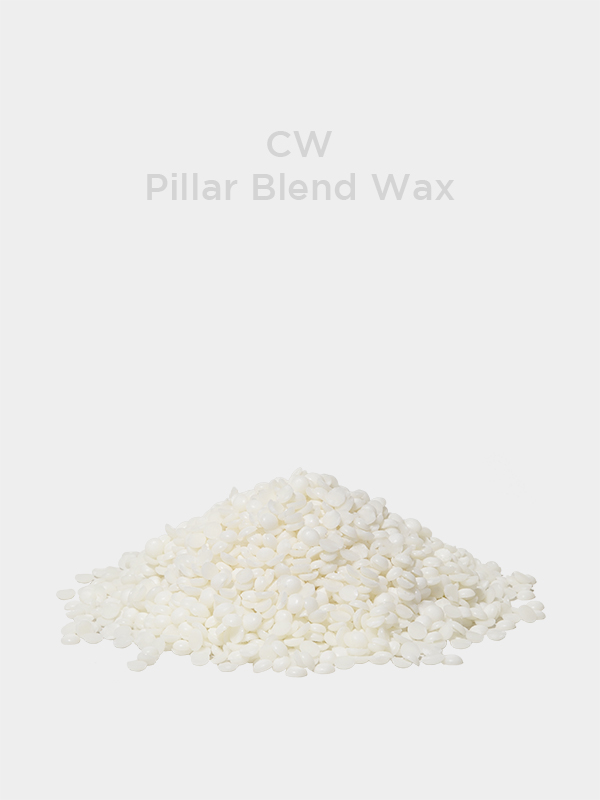
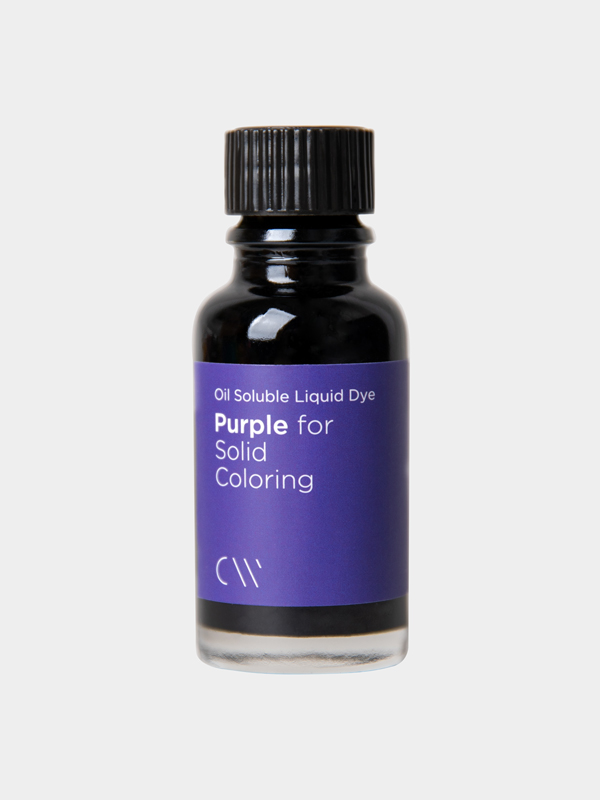
PC Taper Mold (4-Cavities, 20cm), White Cotton Wick No.1 (Roll), CW Pillar Blend Wax 320g (Based on a Quantity of Four),Petitcherie (AG Type) Fragrance Oil, Liquid Dye (Oil Soluble) (Magenta, Honeydew, Blue, Purple), PapercupsBasic Materials for Candle Makingㅣ
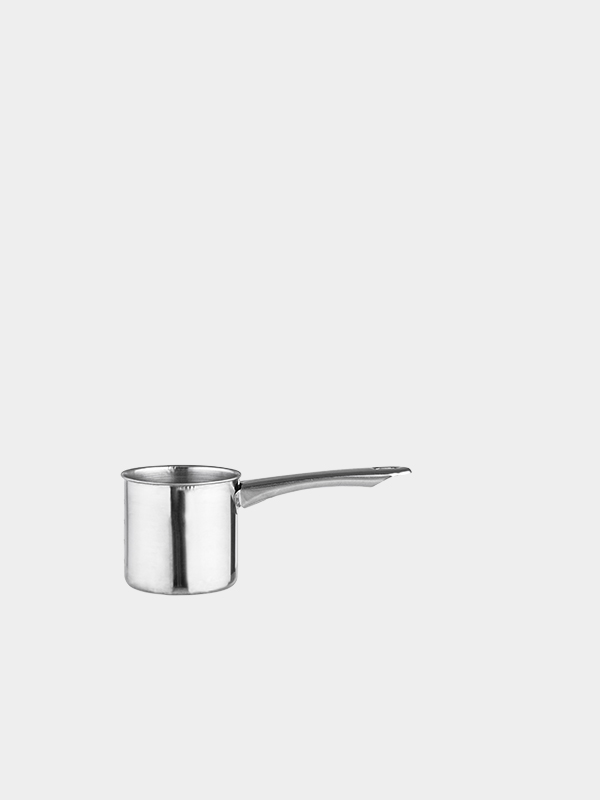
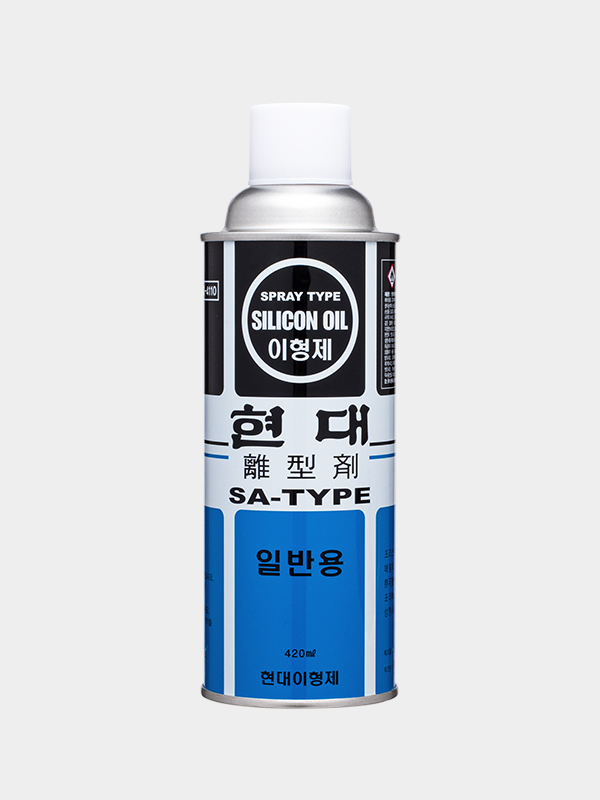
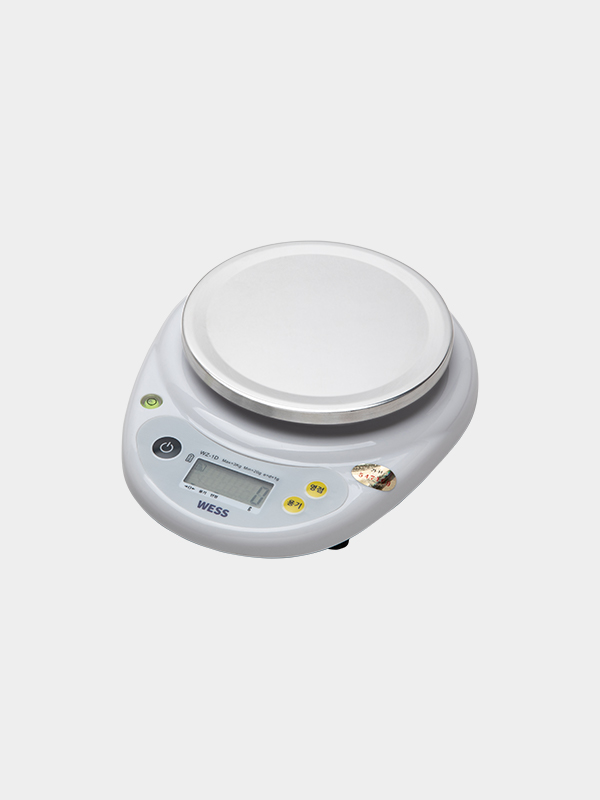
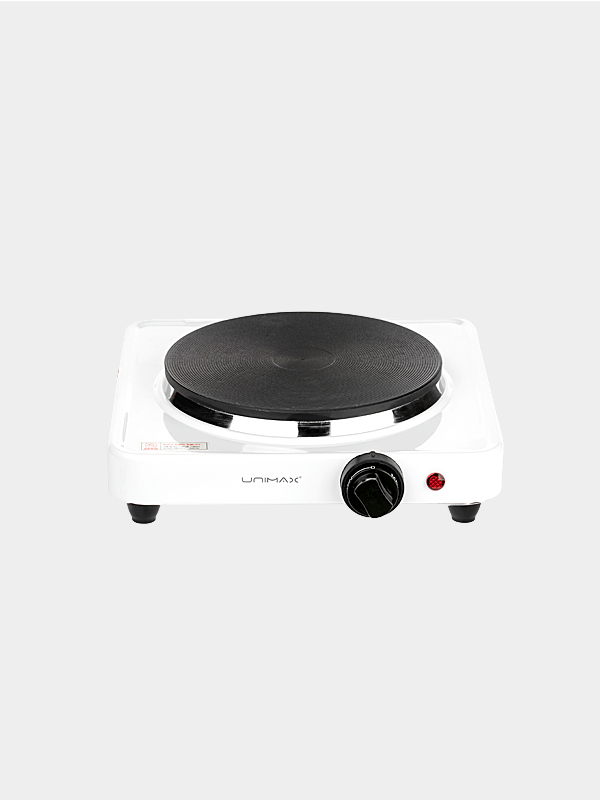
Wess Digital Electronic Scale (WZ-1D) 1g/3kg, Stainless Pot 450ml 1ea, Infrared Digital Thermometer, Electronic Hot Plate,Mold Release Spray, ZAC Mold Sealer, Versatile Metal Pick 2mm x 15cm
01-2. Wick Attachment and Mold Release Application
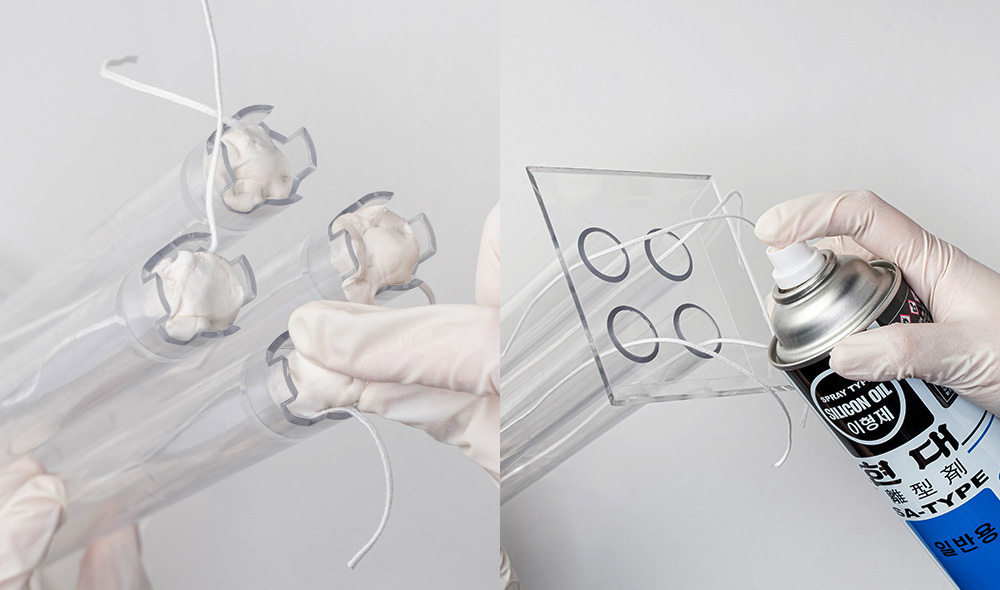
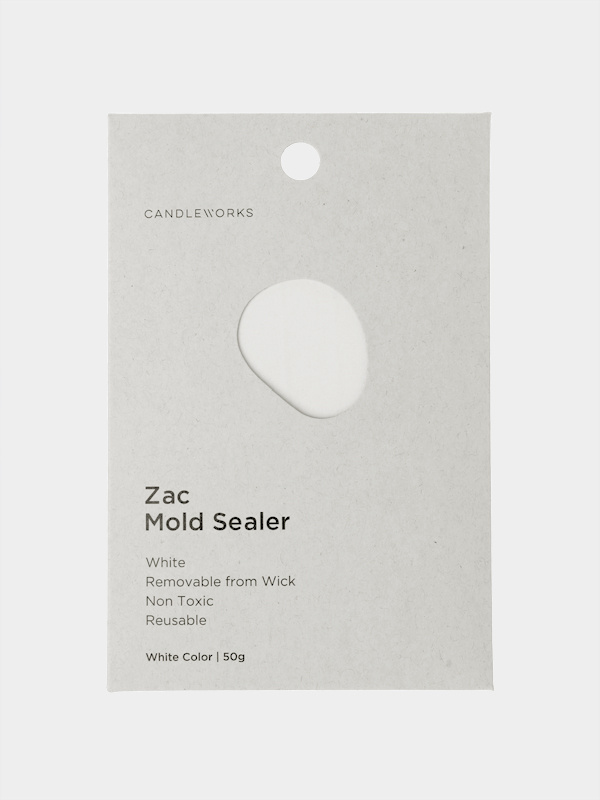
Insert the wick through the wick hole, then seal the opening using a mold sealer (also known as a wick hole sealer) to prevent hot wax from leaking out. Once the wick is secured in place, apply a mold release agent to the interior surface of the mold.The release agent forms a thin, oil-like film that facilitates easy removal of the candle once it has fully set.
01-3.Measuring and Melting the Wax
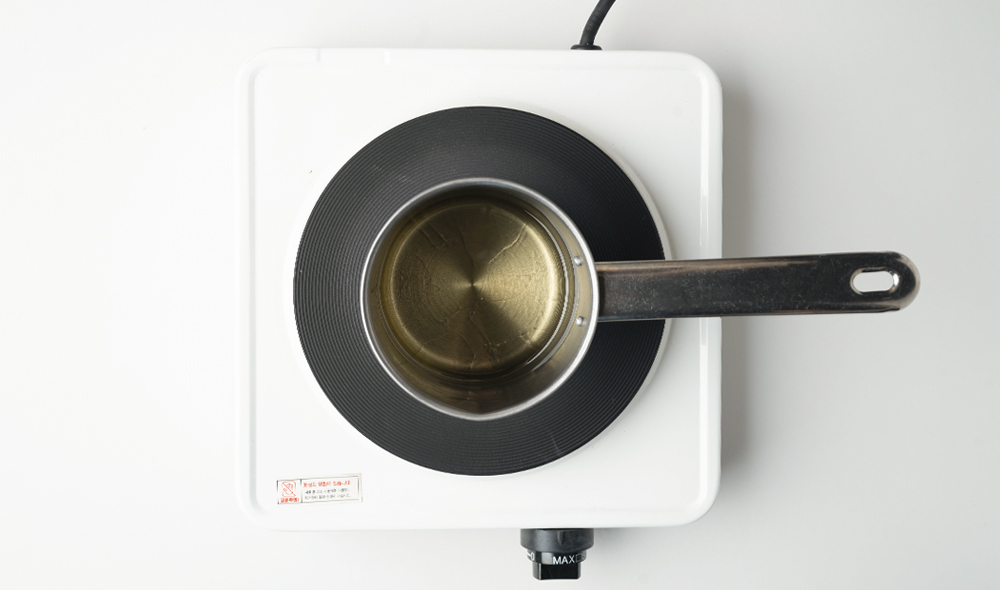
Approximately 80g of wax is required per cavity of the PC taper mold, taking into account the second pour.For producing four candles, measure and melt 320g of CW Pillar Blend wax.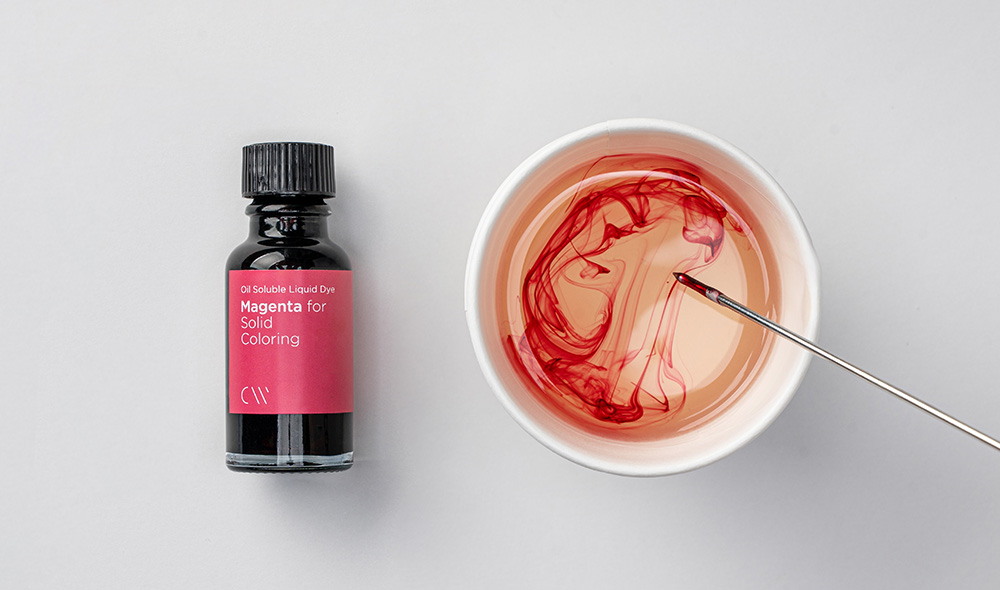
01-4. Coloring the Wax
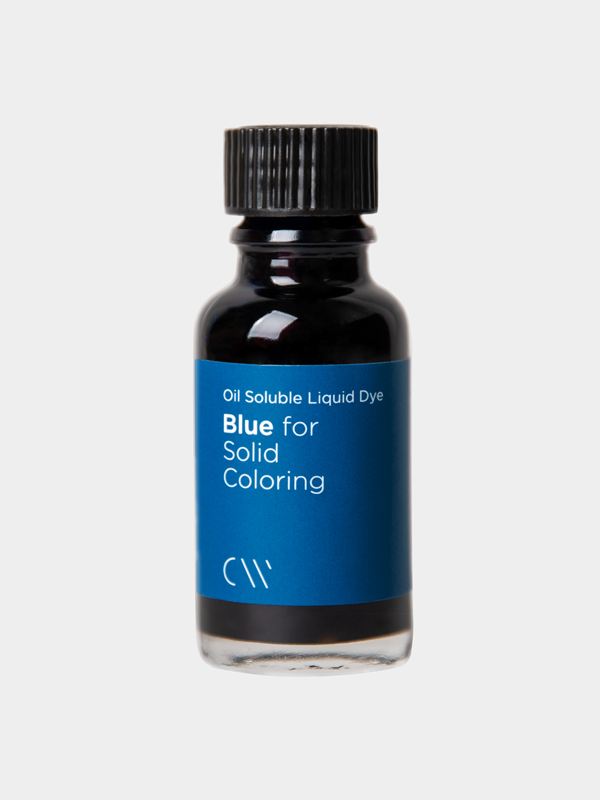
Pour 80g of wax into each of four paper cups, then add oil-soluble liquid dye in magenta to achieve the desired color.
* Similarly, use oil-soluble liquid dyes in honeydew, blue, and purple to color the wax following the same method.
01-5. Adding Fragrance Oil
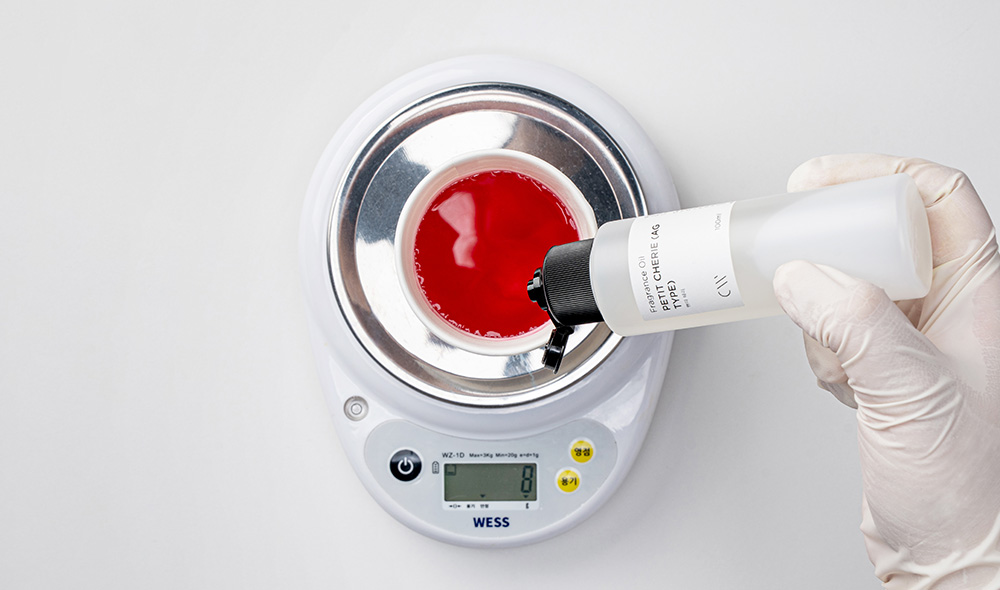
When the wax temperature reaches approximately 80–85°C, add fragrance oil at a 10% fragrance load and stir thoroughly for about one minute.
* In the photo, 8g of Petitcheri fragrance oil was used for 80g of wax, which corresponds to the amount needed for producing one PC taper candle.
01-6.Pouring the Wax
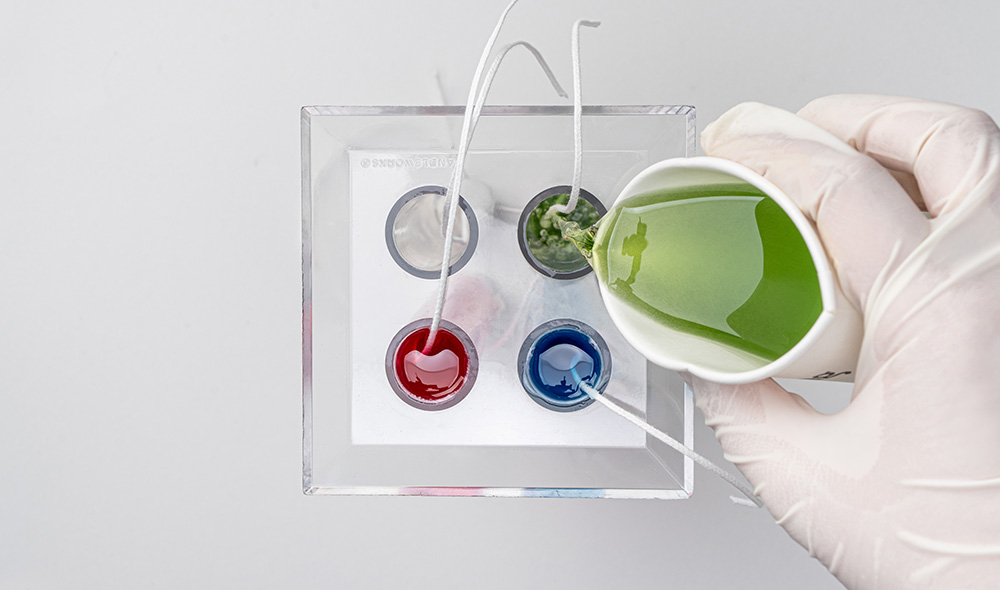
When the wax with added fragrance oil reaches approximately 75–85°C, pour it into the mold.
Use a wick clip, wooden stick, or similar tool to gently pull and secure the wick at the center of the mold.
Once the wax has solidified to about one-third of the mold’s height, pour the remaining wax for the second pour.
This process helps create a taper candle with a smooth, undented center.
* In colder seasons, if the mold is too cold, air bubbles may form on the candle surface.
It is recommended to preheat the mold using a heat tool to prevent this.
01-7.Demolding
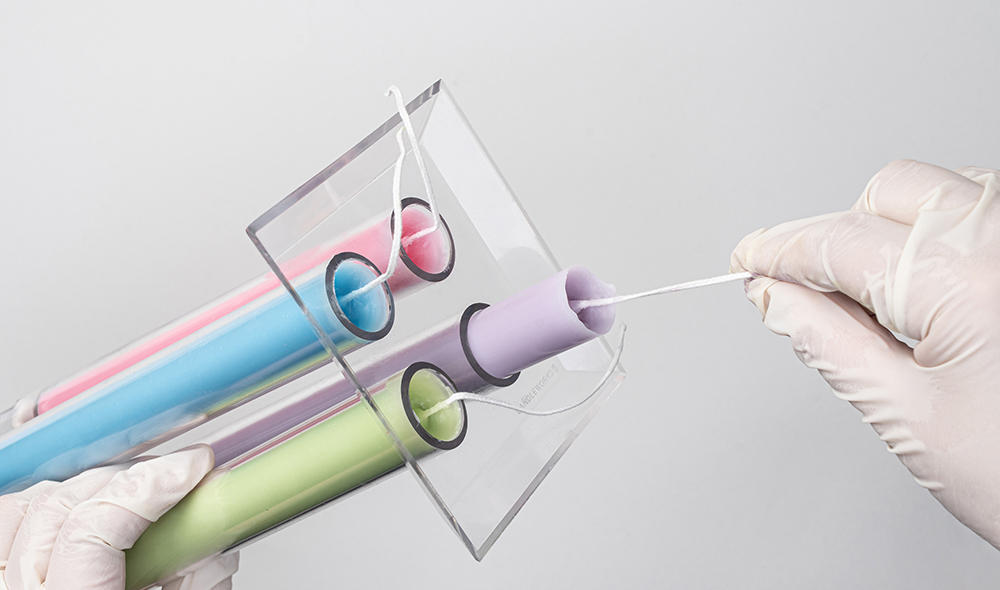
After the wax has fully solidified, remove the mold sealer just before demolding.
Ensure the mold has cooled sufficiently and feels cold to the touch.
Gently press the sides of the mold by hand to create an air gap, then proceed to demold the candle.
01-8.Finishing the Taper Candle
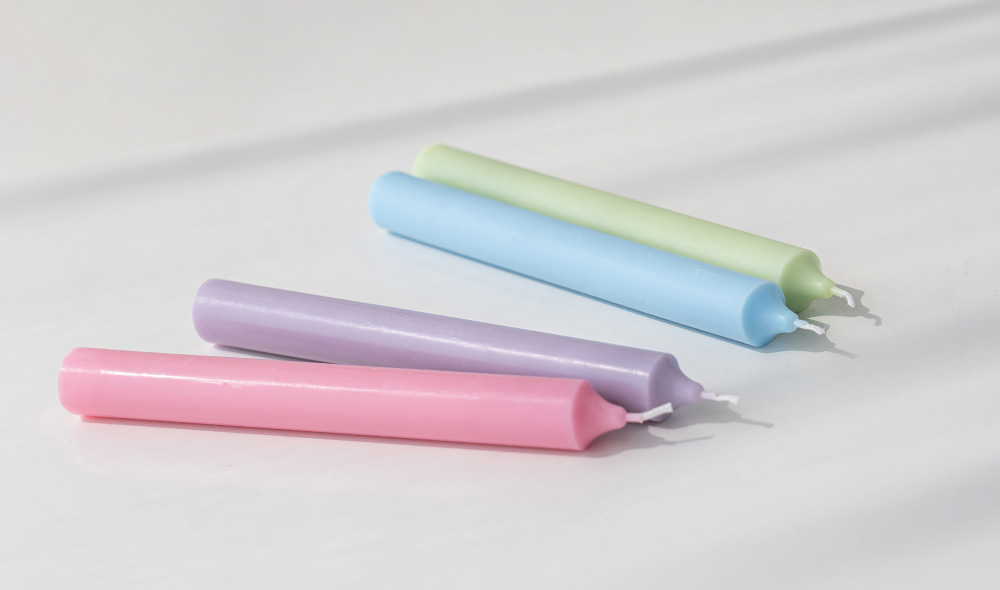
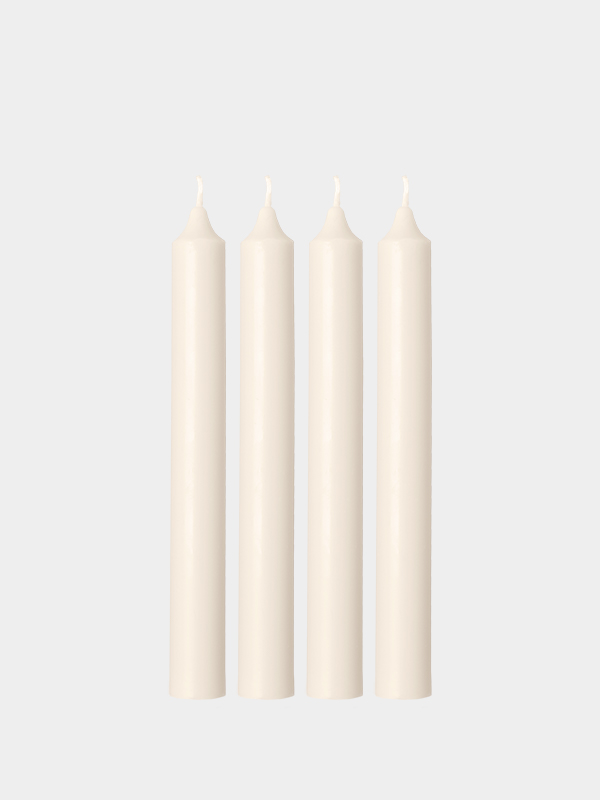
Trim the wick to finish the taper candle, and smooth the bottom surface using sandpaper or a similar tool.
02
Making a Plaster Taper Holder
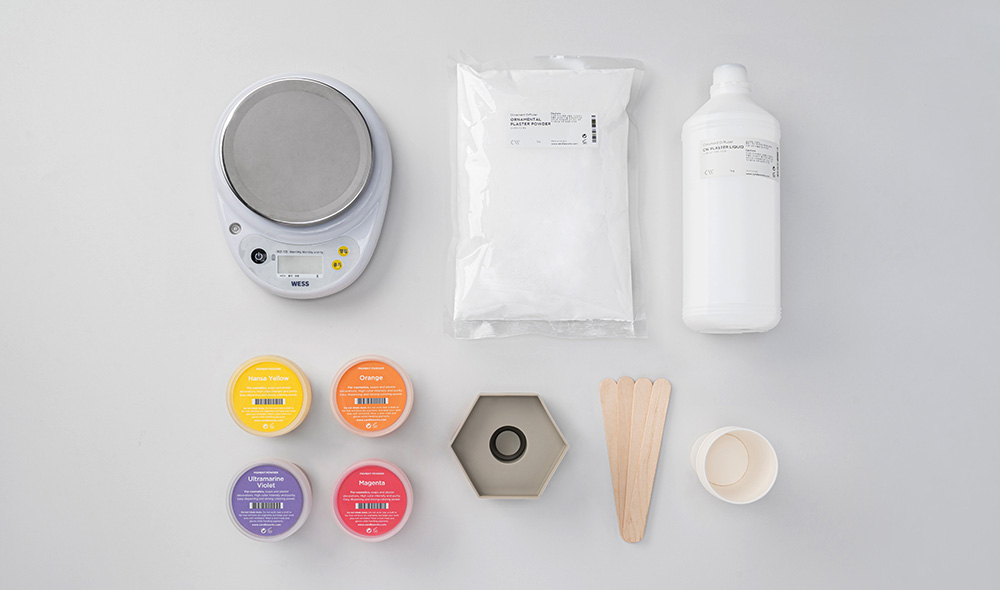
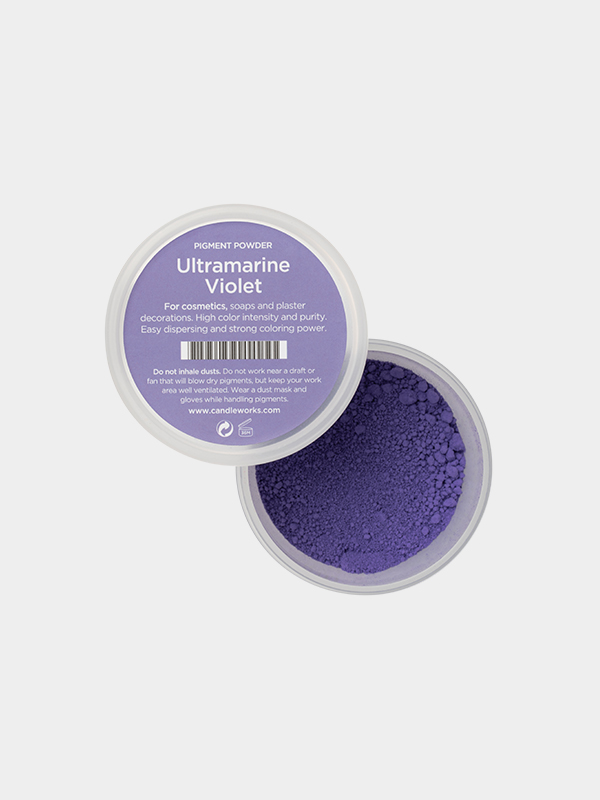
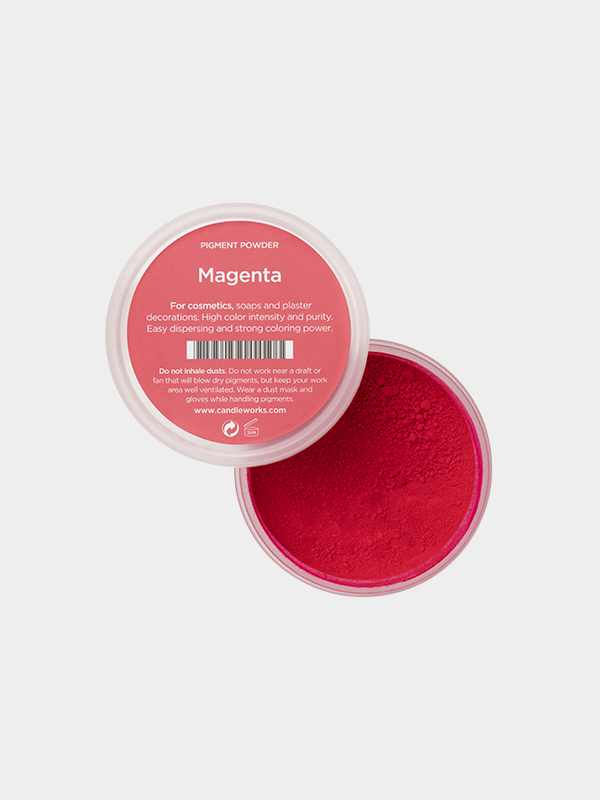
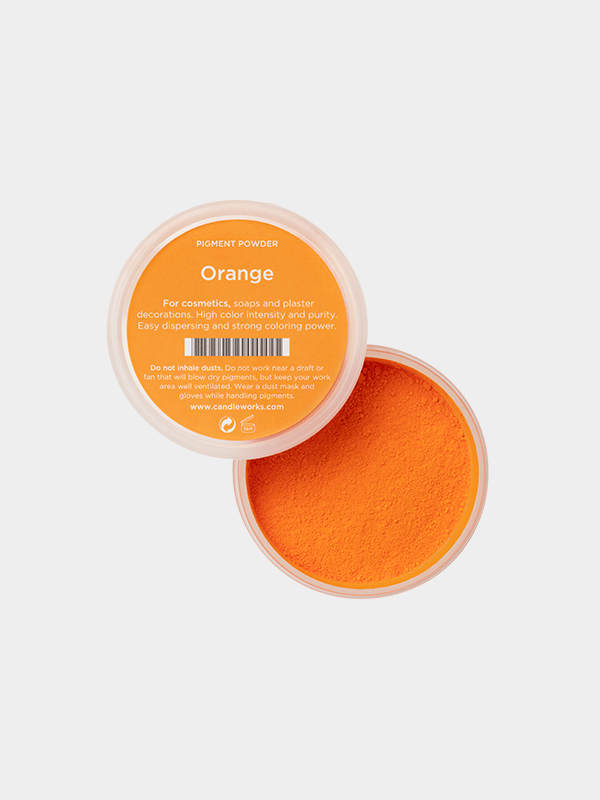
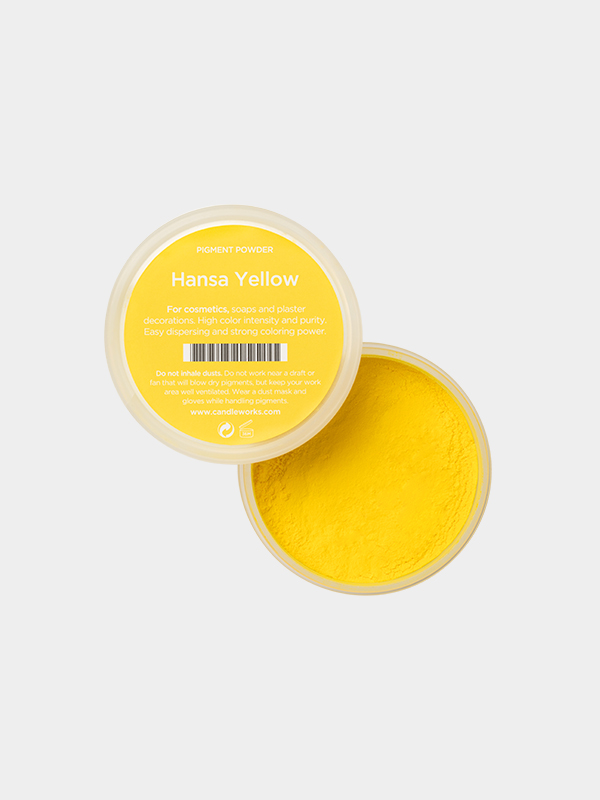
02-1.Preparing the MaterialsHexagon Taper Holder Silicone Mold (2 Cavities), Ornamental Plaster Powder 1kg, CW Plaster Liquid, Pigment Powder (Ultramarine Violet, Hansa Yellow, Magenta, Orange), Wood Spatula (Large) 4ea, Papercups
02-2.Weighing Materials
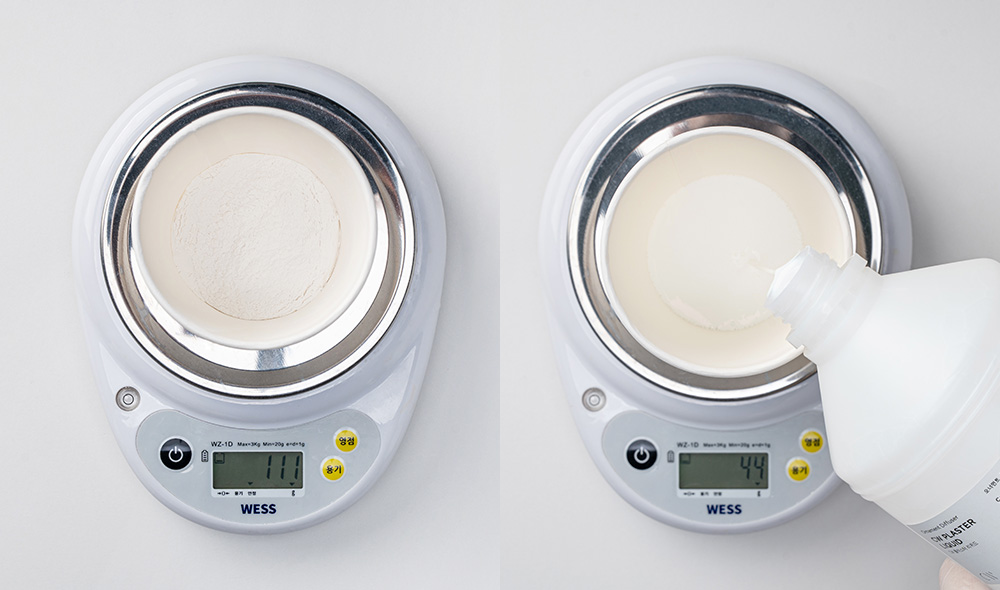
Based on the hexagon holder mold, measure 111g of plaster powder and 44g of plaster liquid to achieve a finished product weight of 155g.
(Based on the use of our company’s ornament plaster powder)
* Tip for Calculating Ratios
Ornament plaster powder 2.5 : CW plaster liquid 1
(Example: For a total mold weight of approximately 100g, use 71.5g of plaster powder and 28.5g of plaster liquid.)
** CW plaster liquid enhances the hardness of the plaster and allows for more vibrant colors compared to using water alone.
*** Plaster liquid is made from safe materials that have passed domestic safety certifications.
Although it has a strong characteristic odor at the beginning of use, it becomes odorless once it sets together with the plaster.
Please ensure to wear a mask and work in a well-ventilated area when handling the plaster liquid.
Additionally, mixing it with fragrance oils is not recommended.
02-3. Coloring
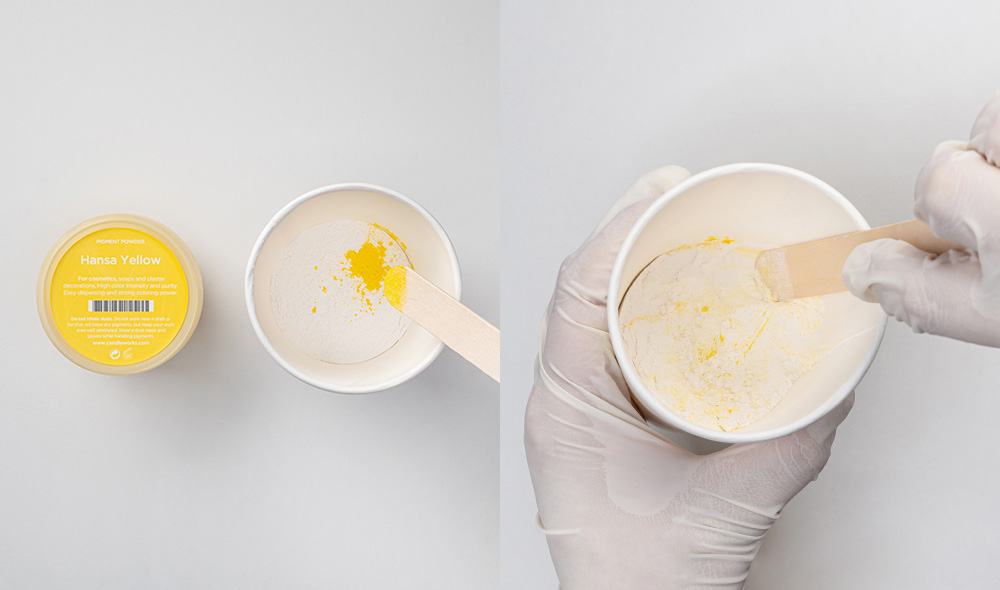
Place the measured ornament plaster powder into paper cups, then gradually add small amounts of magenta pigment powder to achieve the desired color.
When completing the plaster object, use a spatula to thoroughly mix the pigment powder and plaster powder, crushing any clumps to ensure an even blend.
* Since mixing with water or plaster liquid intensifies the color, add the pigment powder gradually in small amounts while checking the color.
02-4.Making the Plaster Paste
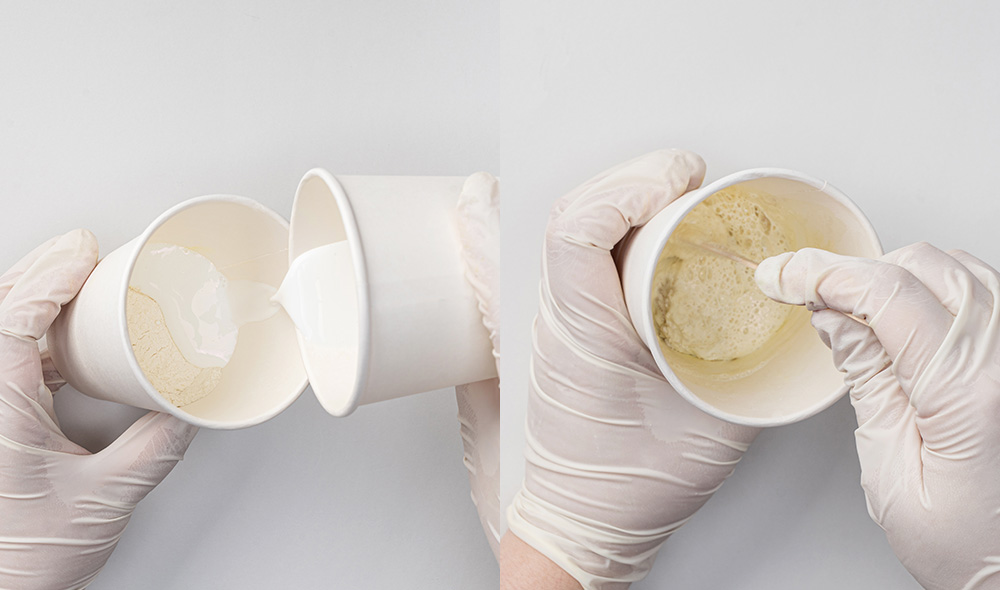
Pour plaster liquid into the paper cup containing the colored plaster powder, and use a spatula to stir quickly yet steadily to ensure the pigment powder is evenly mixed before the plaster sets.
If the mixture is too thick, gradually add small amounts of plaster liquid while mixing thoroughly to prevent clumping.
02-5.Pouring into the Taper Holder Mold
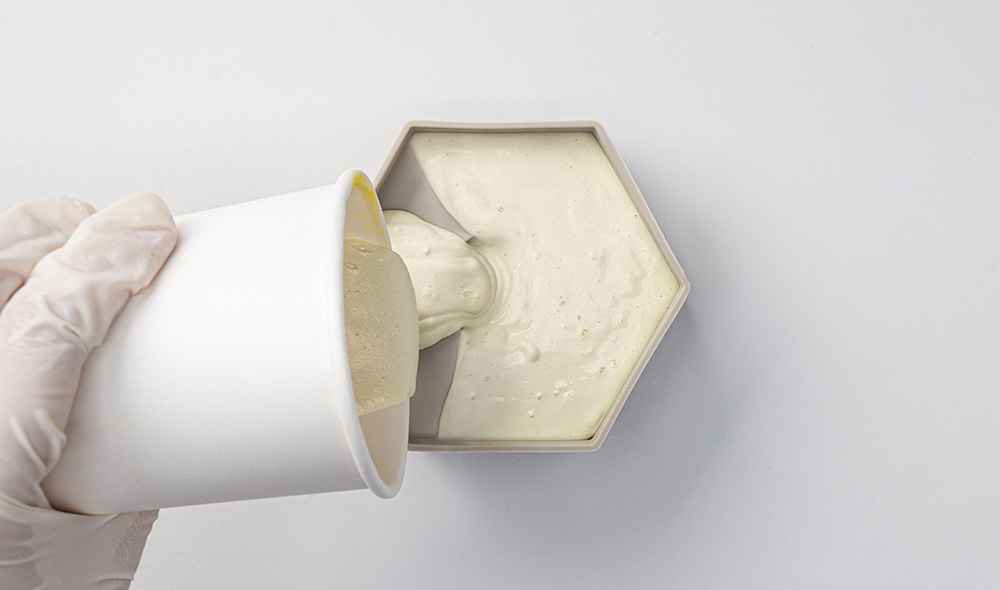
After ensuring that the silicone mold is free of any debris, pour the colored plaster mixture from the rubber bowl into the mold.
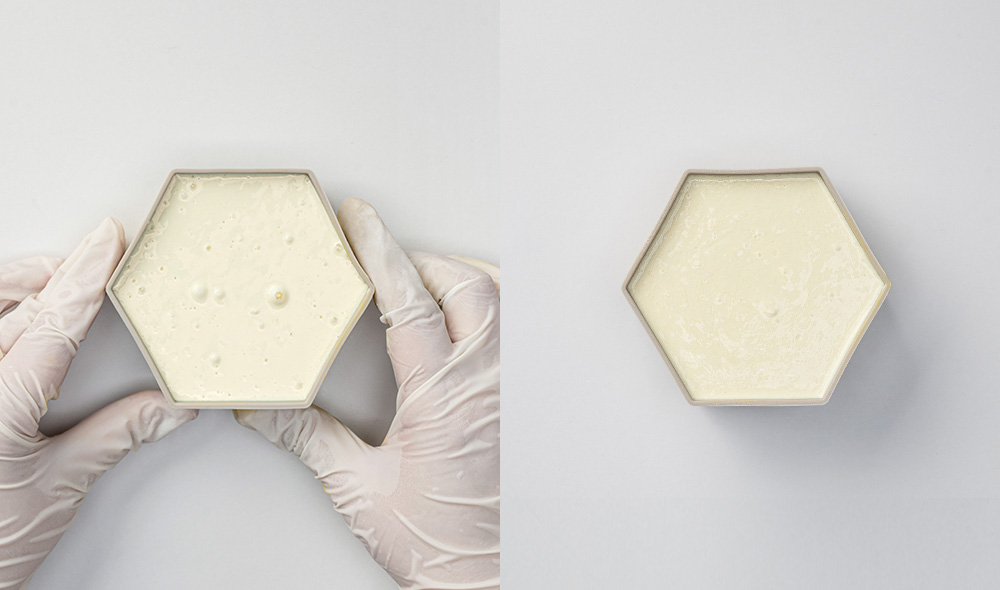
Once poured, gently tap the sides of the mold to help the mixture spread evenly and eliminate any air bubbles.
At this stage, avoid striking the bottom too hard; instead, gently tap it multiple times to remove air bubbles.
If there are many bubbles, lightly spray the surface with ethanol-based fragrance spray to eliminate them.
02-6. Finishing After Demolding
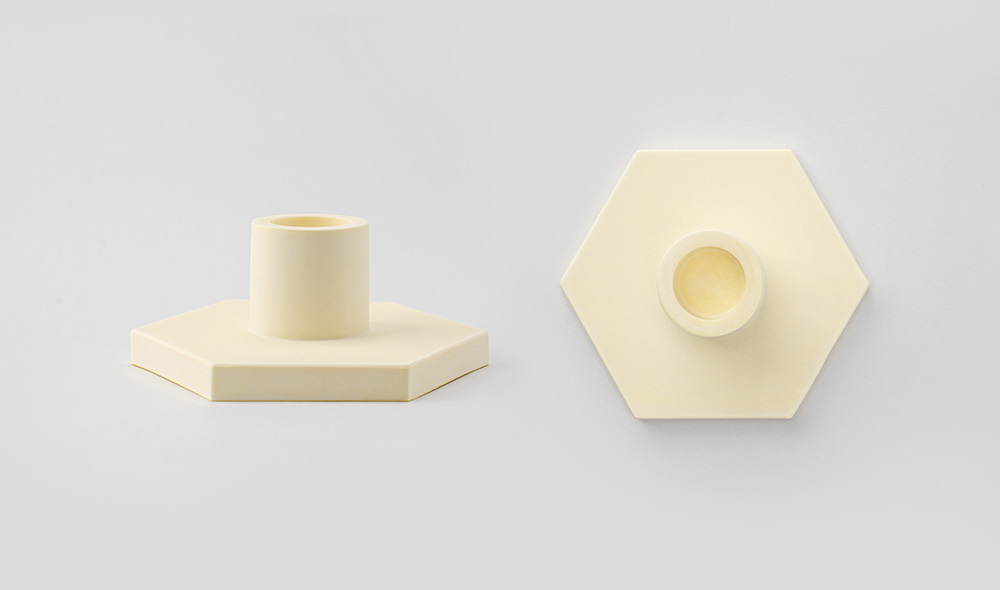
Once the plaster has fully set, press the sides of the mold to release air and carefully separate the mold.
To prevent breakage, apply pressure to the mold rather than the plaster piece during removal.
This completes the plaster taper candle holder. If needed, smooth the surface with sandpaper.
 03
03
Presentation
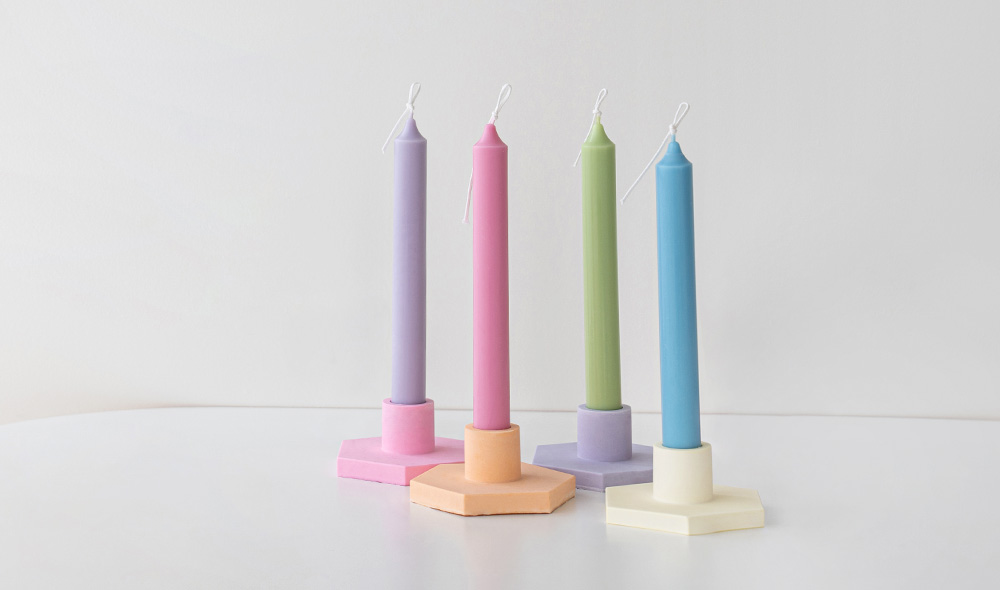
Repeat steps 02-2 through 02-6 to complete a total of four taper candle holders in different colors.Arrange and style the taper candles and holders in various color combinations for an appealing display.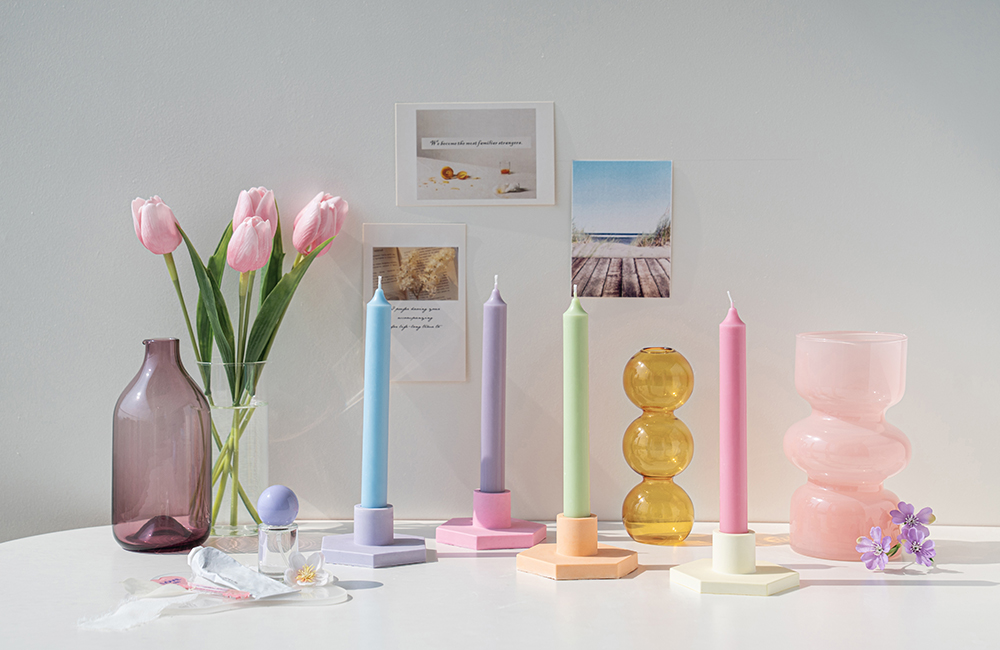
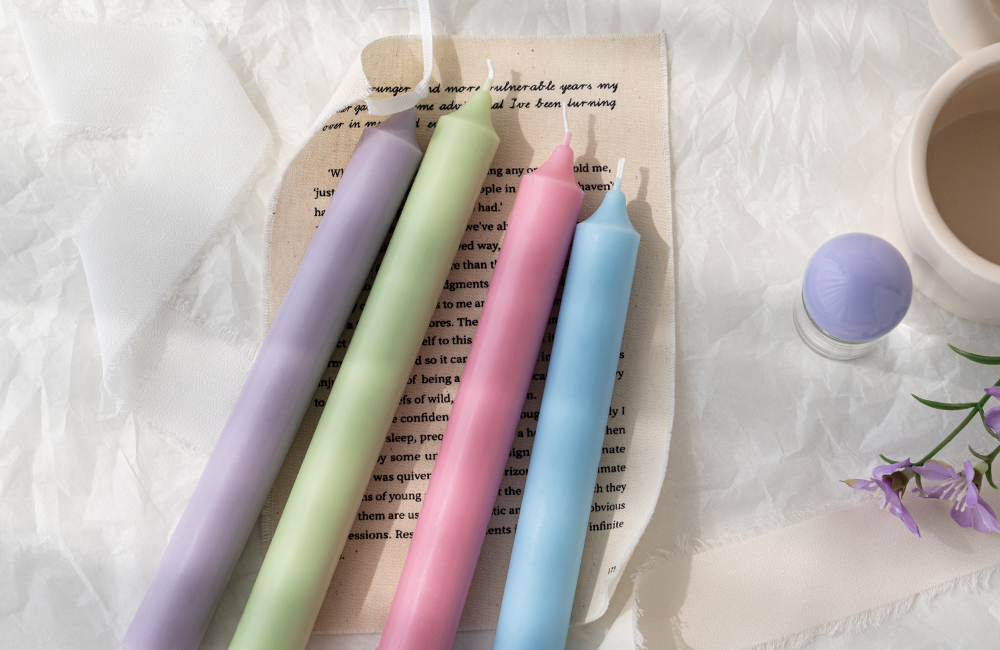
This content is copyrighted by Chromaworks Inc. and may not be used commercially without permission.
DIY Items
Make One Taper Candle
-
25.38 (USD)
PC Taper Mold (4-Cavities, 20cm)
1pc × 1 EA
-
1.92 (USD)
White Cotton Wick No.1 (Roll)
5m × 1 EA
-
5.77 (USD)
Petit Cherie (AG Type)
20ml × 1 EA
-
1.69 (USD)
ZAC Mold Sealer
1 pc × 1 EA
-
10.69 (USD)
CW Pillar Blend Wax
1kg × 1 EA
-
2.31 (USD)
Mold Release Spray
1pc × 1 EA
-
6.08 (USD)
Magenta (Pink) Liquid Dye (Oil Soluble)
20ml × 1 EA
-
2.46 (USD)
Stainless Pot 450ml
1 pc × 1 EA
-
11.38 (USD)
Infrared Digital Thermometer
1pc × 1 EA
-
15.77 (USD)
Wess Digital Electronic Scale (WZ-1D) 1g/3kg
1pc × 1 EA
-
22.69 (USD)
Electronic Hot Plate
1pc × 1 EA
-
0.54 (USD)
Versatile Metal Pick 2mm x 15cm
1pcs × 1 EA
Recommended Items
Scent suggestions for the Taper Candle
-
5.54 (USD)
HONEY BASE
20ml × 1 EA
-
5.00 (USD)
Nectarine Blossom & Honey (JM Type)
20ml × 1 EA
-
5.77 (USD)
Un Jardin Sur Le Nil (H Type)
20ml × 1 EA
-
4.77 (USD)
Clean Cotton (YC Type)
20ml × 1 EA
Related Products
Related products


- 50%